Custom club pins for associations
and member organisations.
Develop your authorised crest into an enamel pin project.
Artwork, versions and supply scope are agreed for your organisation.

For clubs,
associations and
member teams.
A custom enamel pin project to represent your organisation, identify membership and support your activities.
Your crest.
Your versions.
Agreed for your project.
Our own factory develops your authorised artwork, with colours, finishes and fittings reviewed for the intended use.
Custom manufacturing for clubs, associations and member teams.
Illustrative custom concept — not a stock item or a customer project.
02
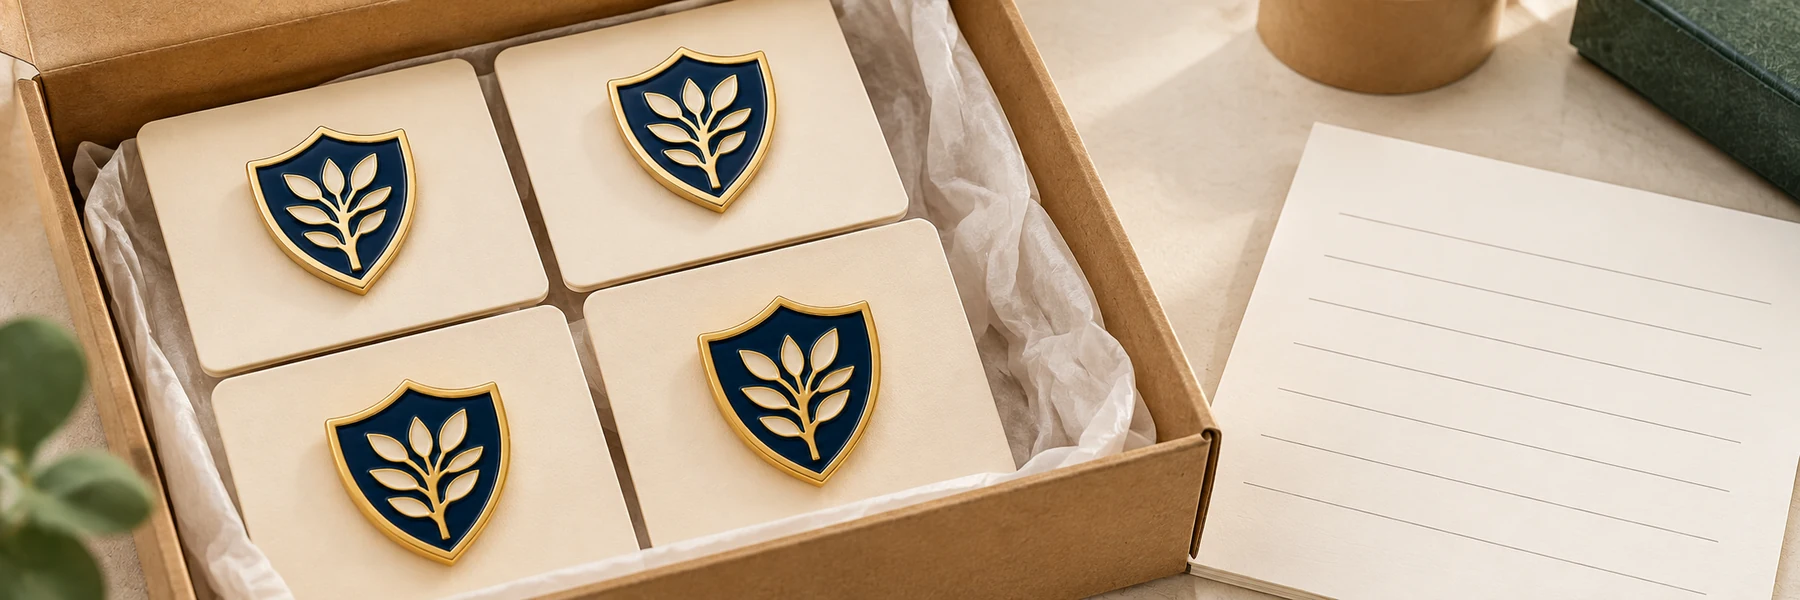
Read the crest as a complete object.
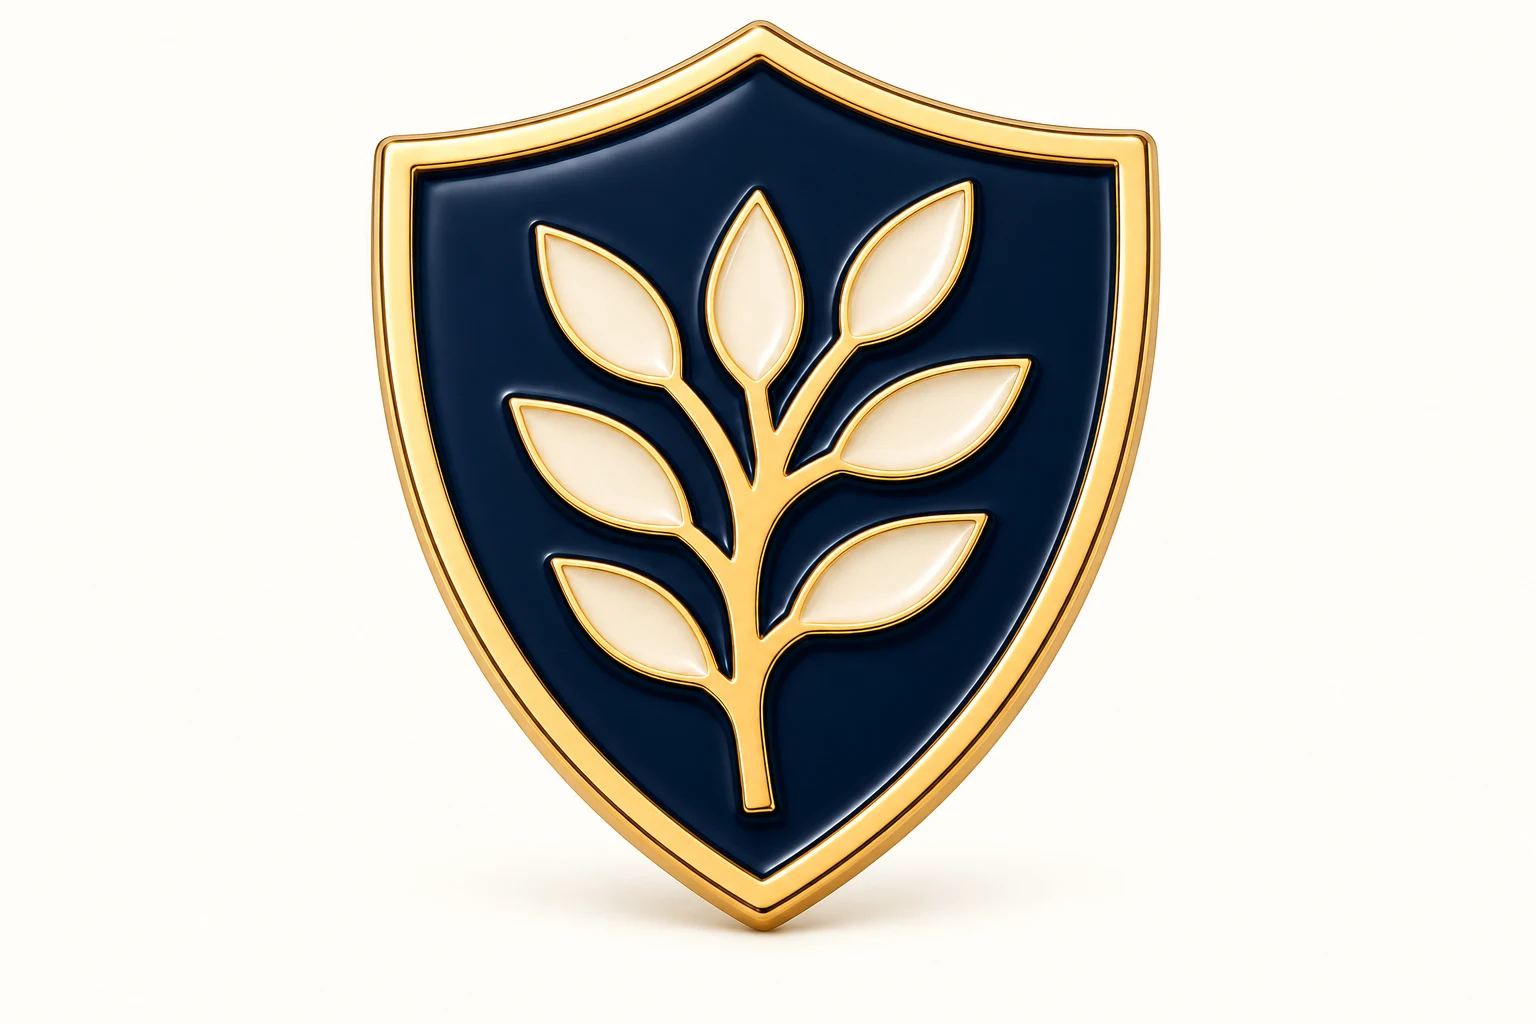
Face
Emblem, colour fields and border.
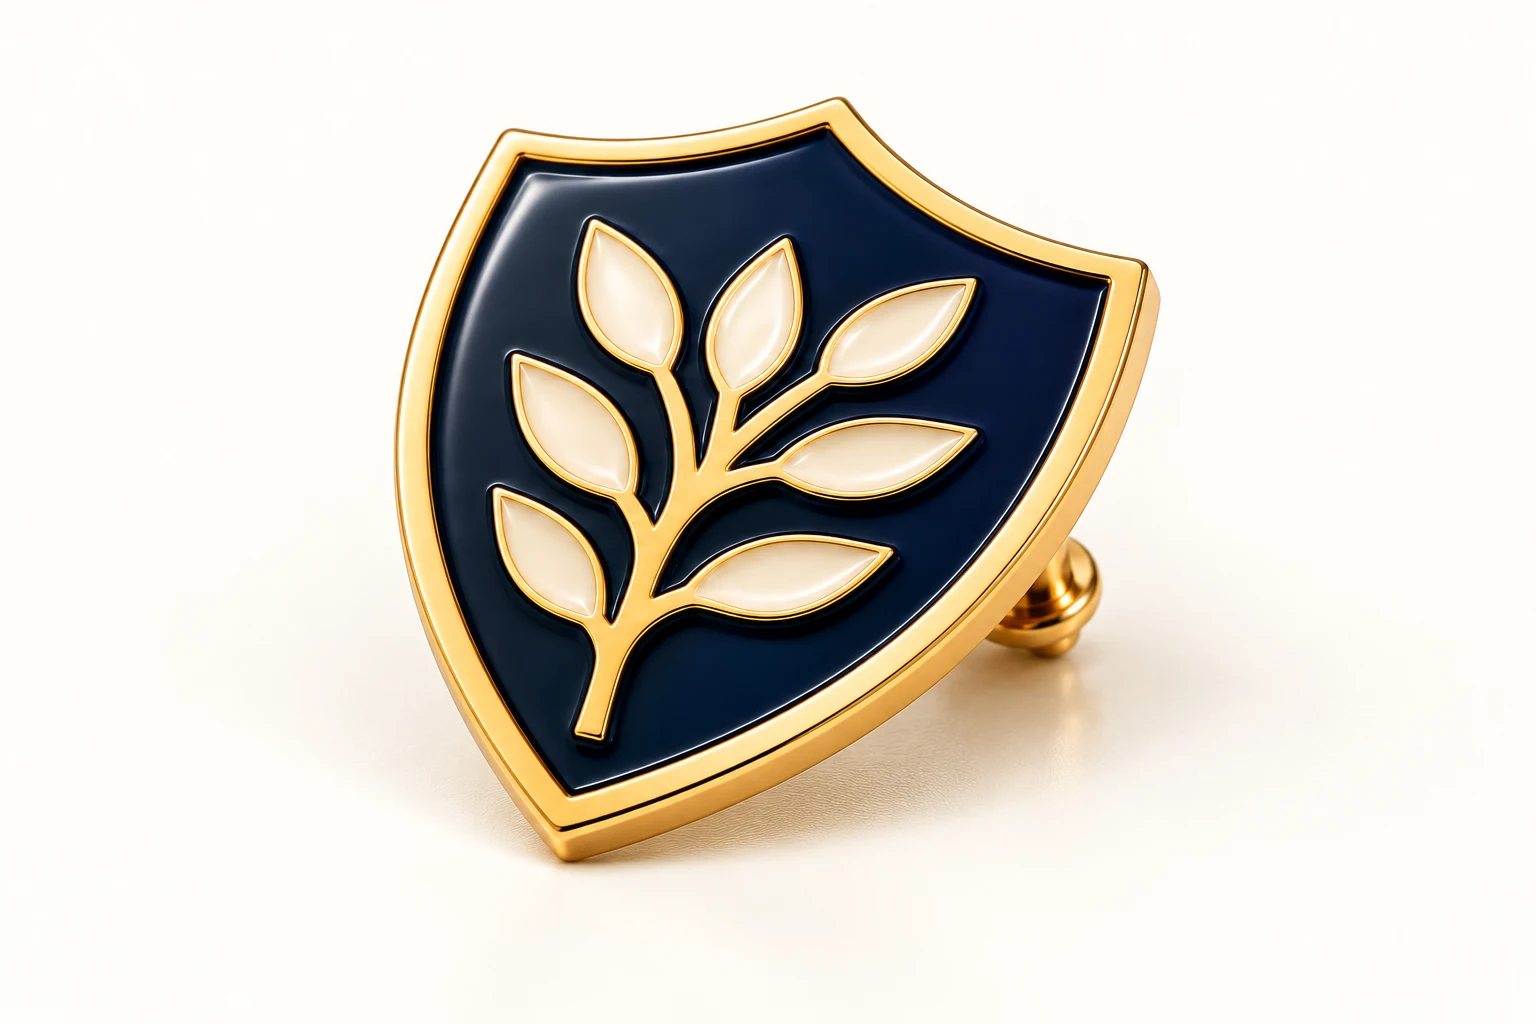
Edge & surface
Review the profile and enamel surface.
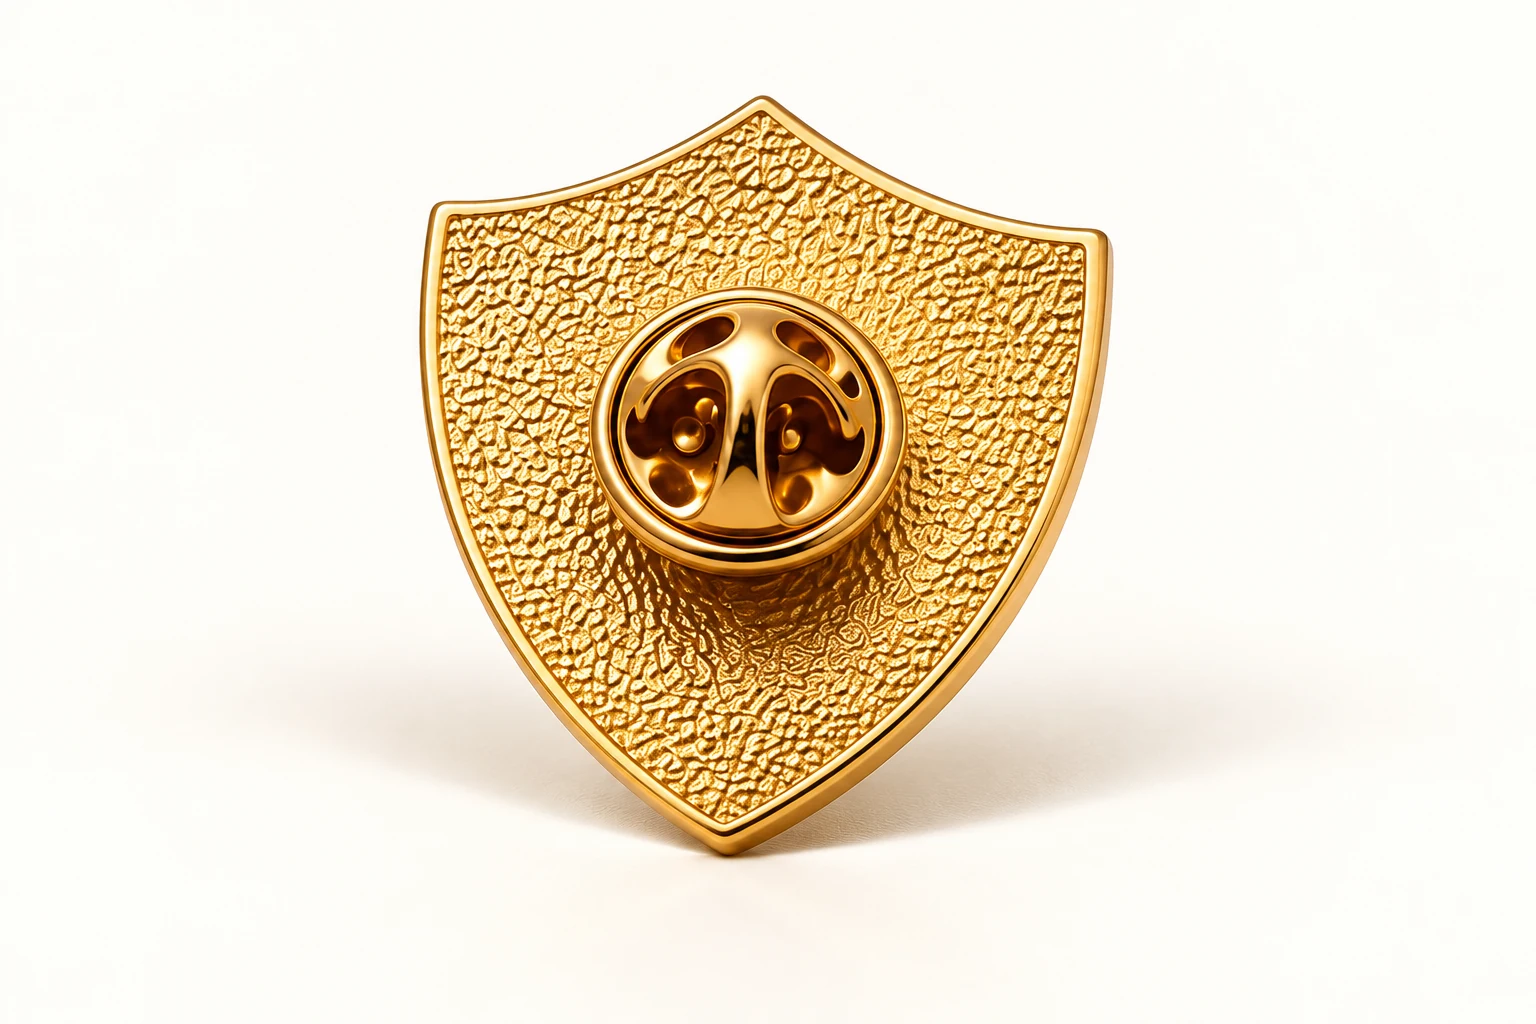
Reverse
Fitting position and wearing direction.
Supplied scope: pin, fitting and presentation are agreed for each project. The pictured shape, surface and fitting are illustrative, not a standard specification.
03
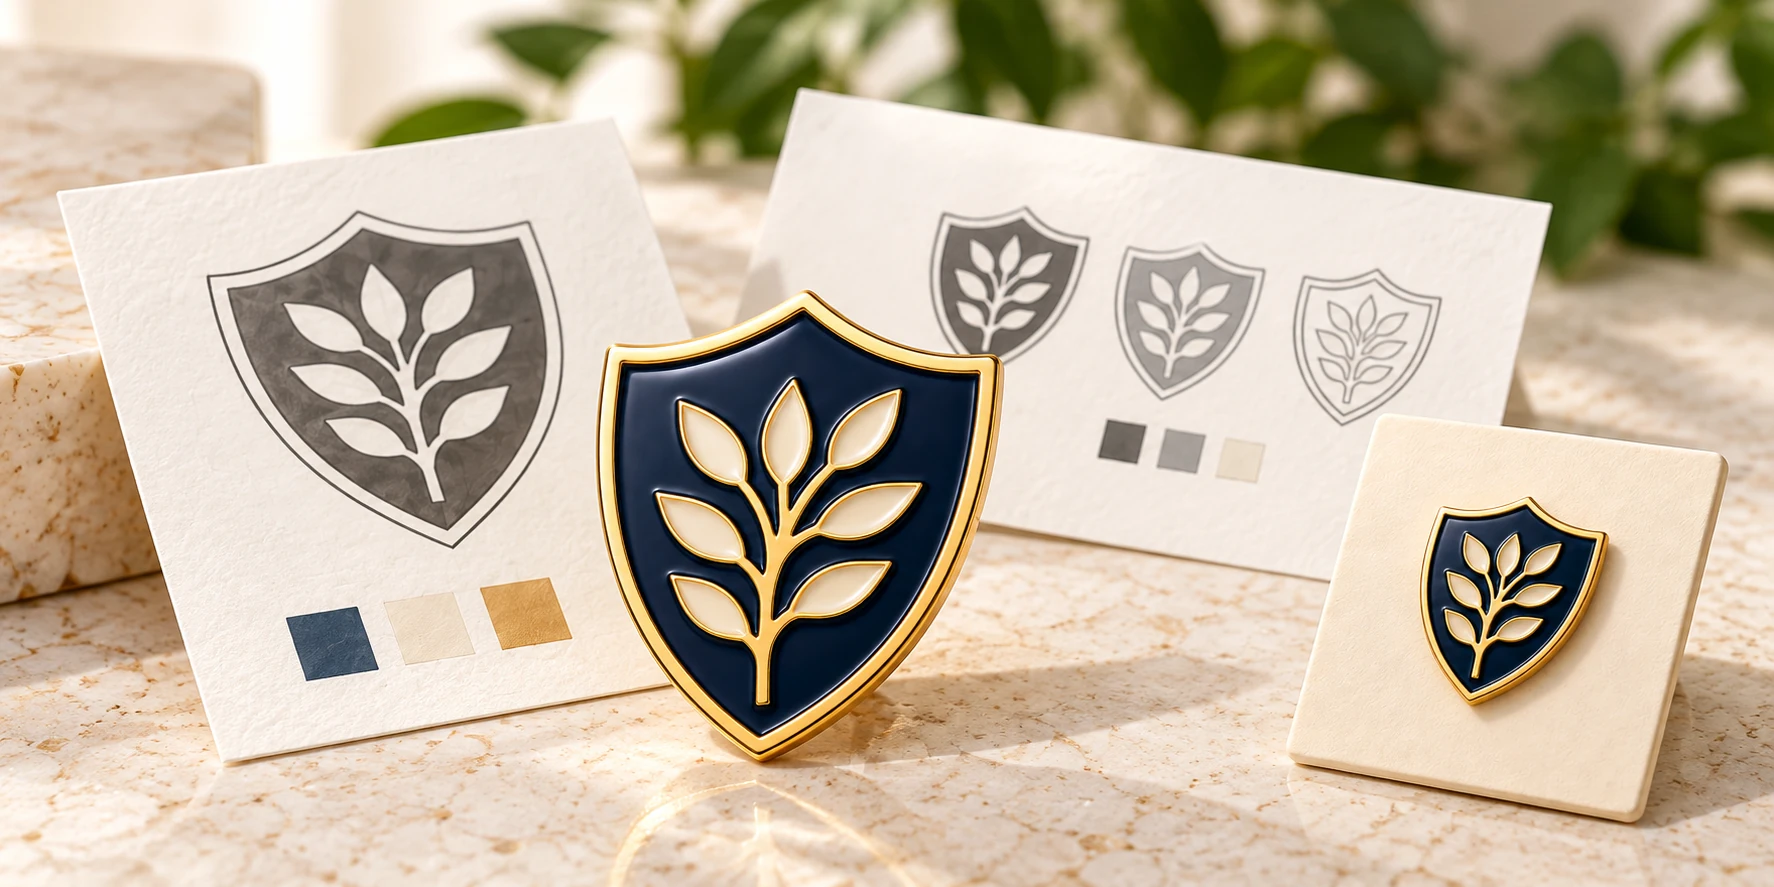
Give the name and emblem
room to read.
Keep your authorised identity clear at the intended size.
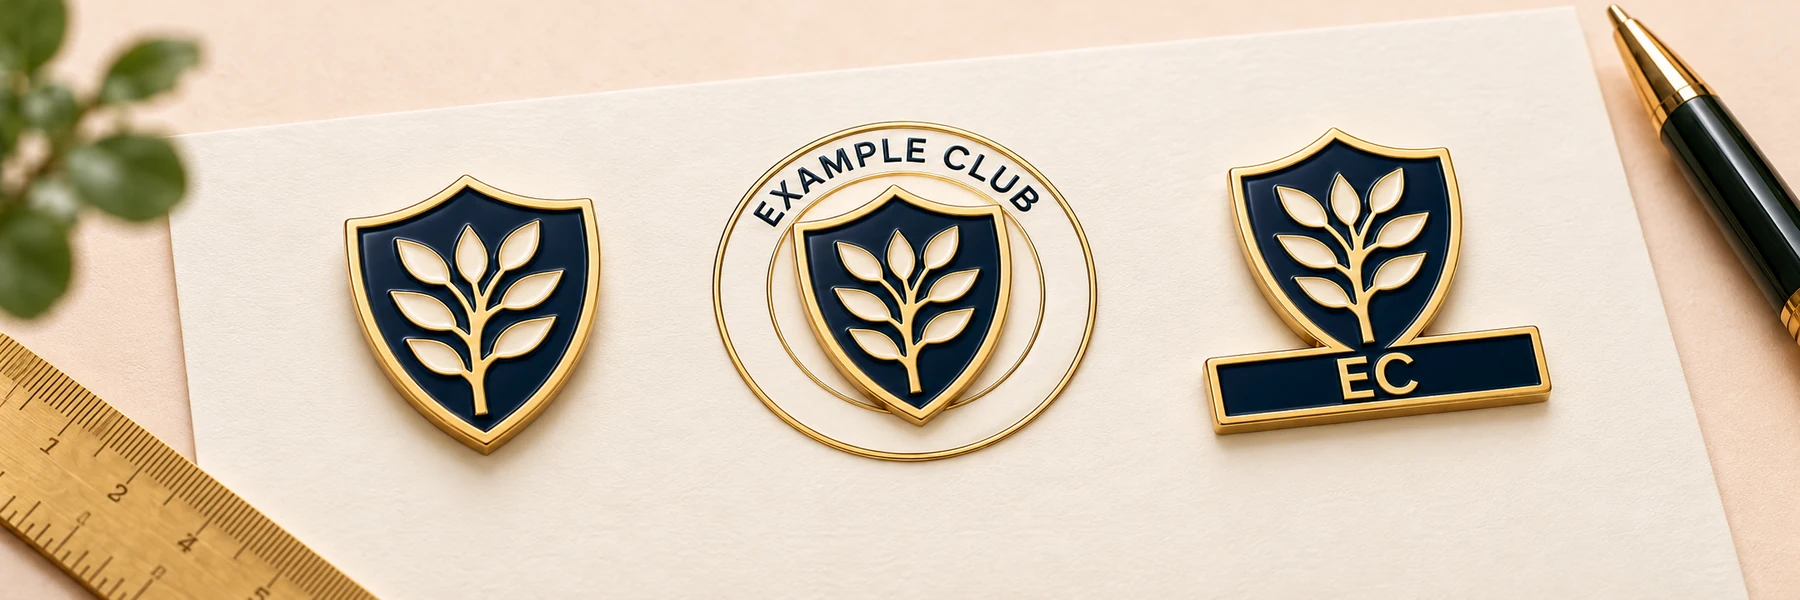
Essential emblem
Identify the symbol and colours that must stay recognisable.
Full name
Review your organisation name and emblem together at the proposed size.
Approved abbreviation
Use a shorter version only when your organisation approves the wording.
Illustrative artwork variations. EXAMPLE CLUB is fictional. Review long names, narrow spaces and metal boundaries before sampling.
04
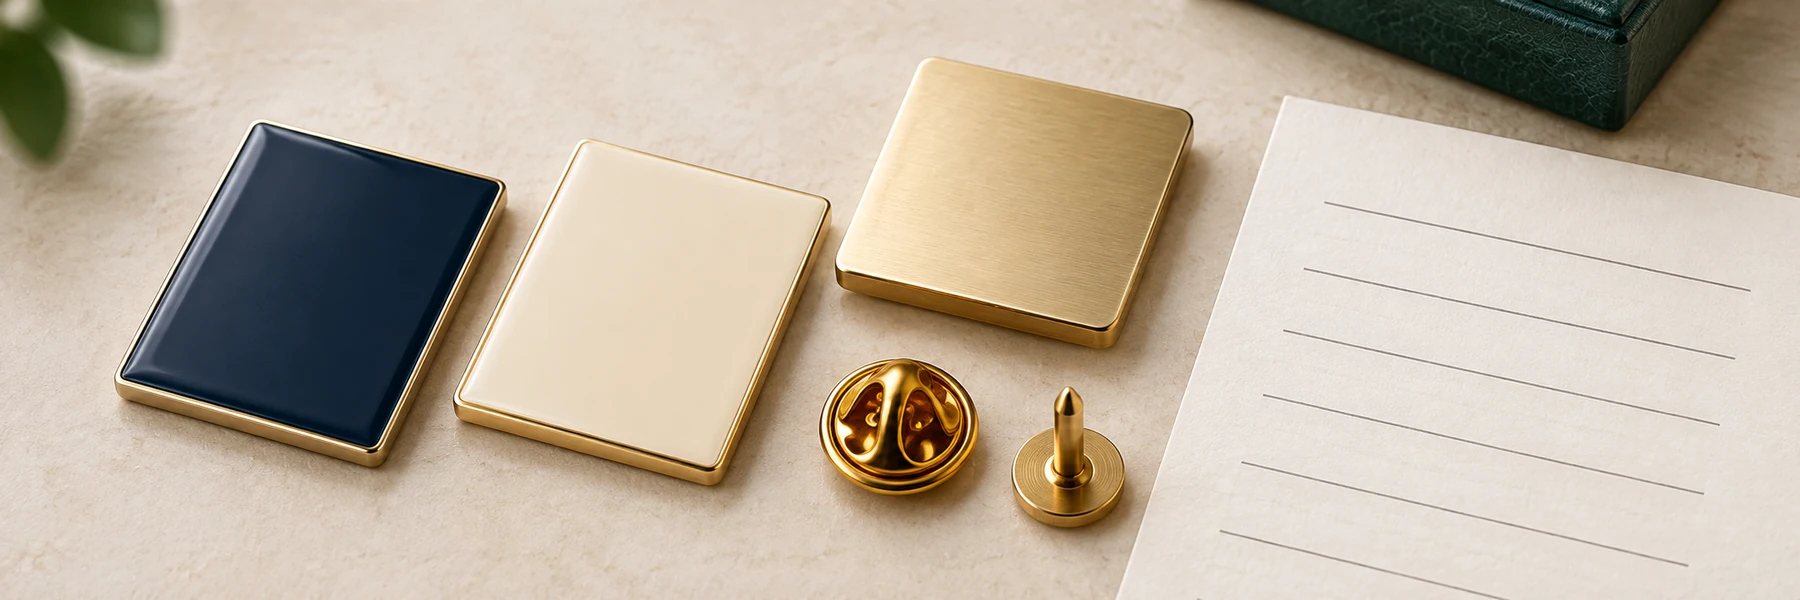
Choose a surface for this crest.
Review lettering, gaps, colour areas and metal boundaries with the proposed size and finish.
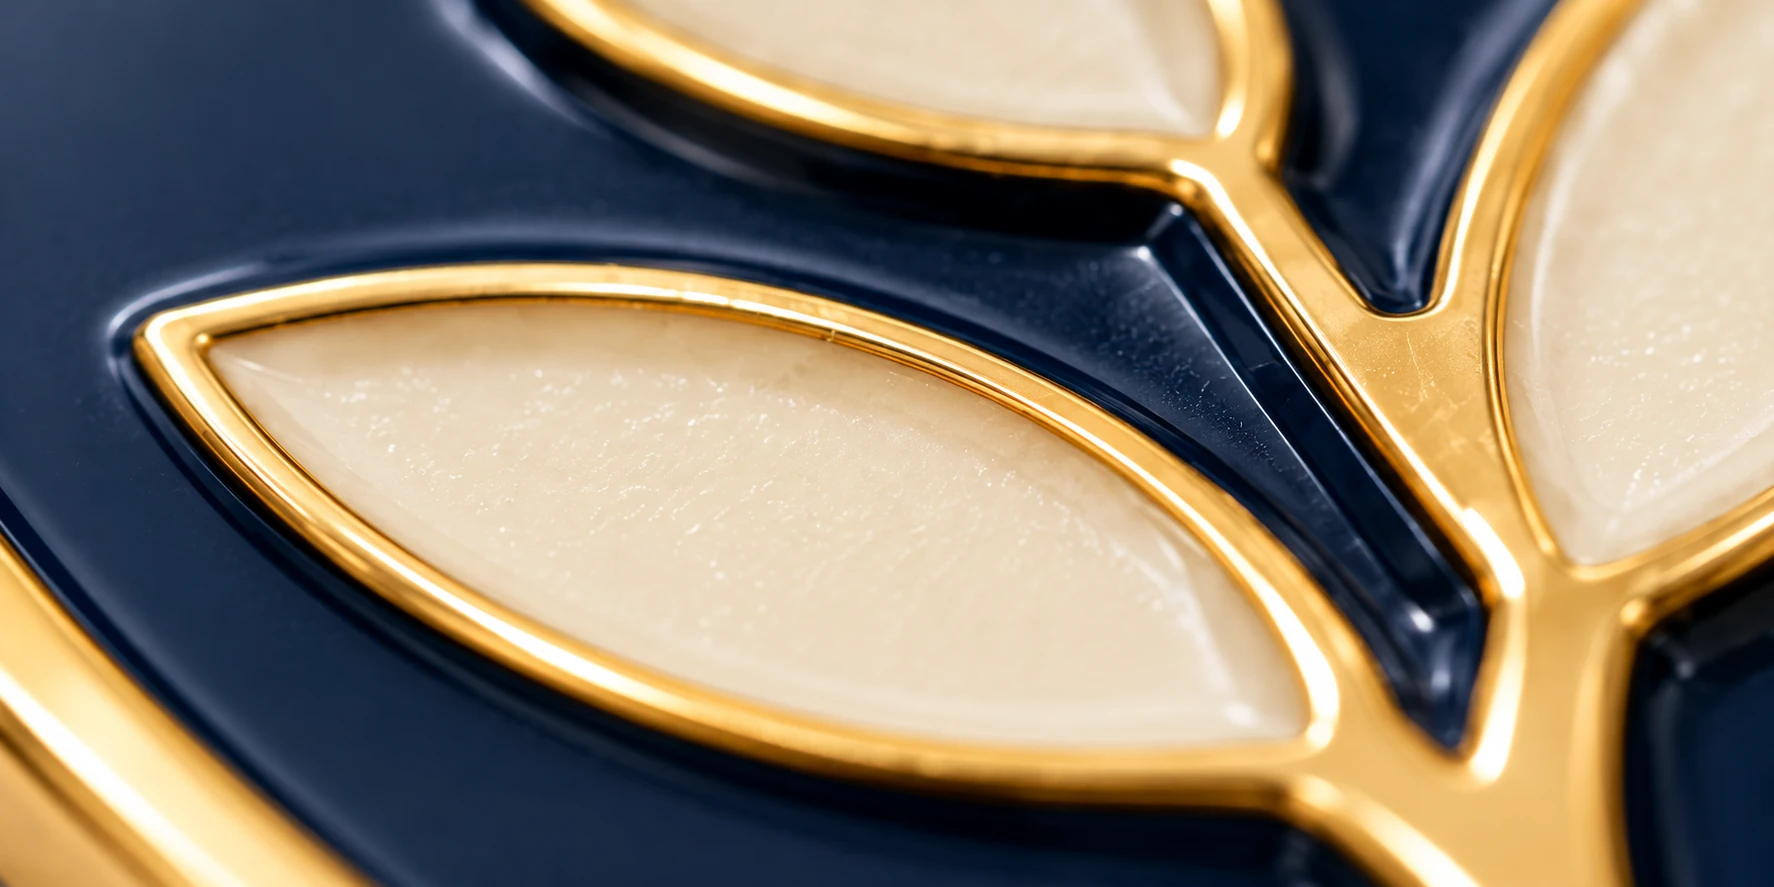
Soft enamel — recessed colour fields
Colour sits below raised metal boundaries, giving the crest a more defined relief.
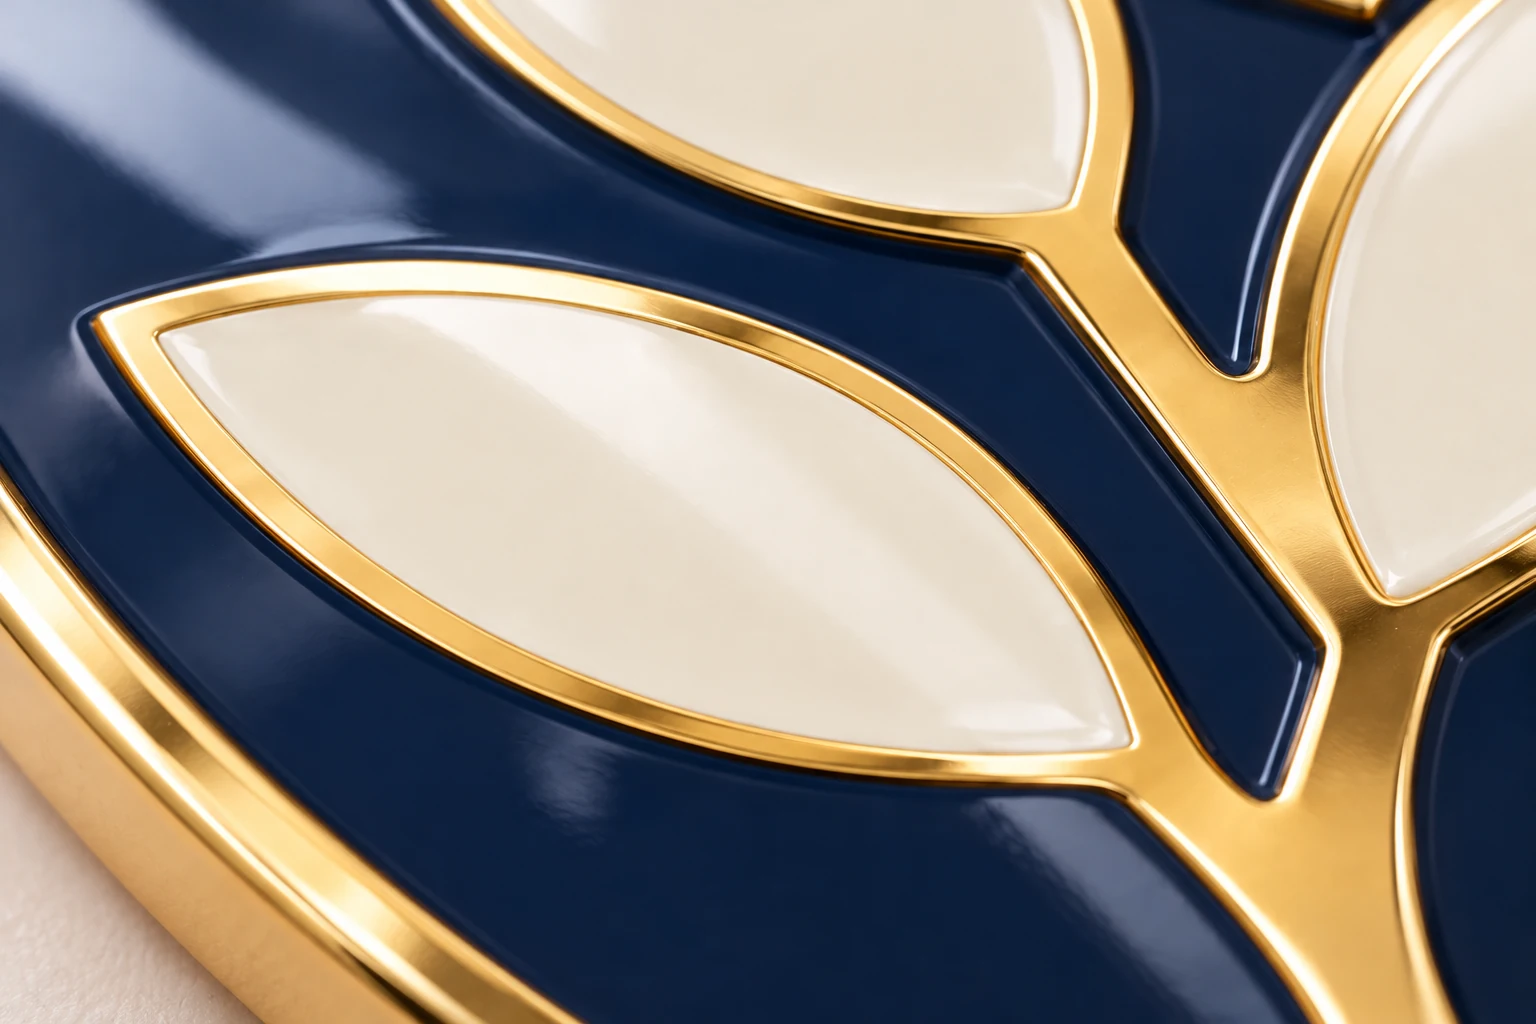
Hard enamel — a more level surface
Filling and polishing create a more level surface. Fine lettering and separated details still need review.
AI material illustrations. Neither surface automatically suits every crest; the final artwork and sample arrangement remain project-specific.
05
Keep the crest upright.
Discuss the intended wearing position, material and orientation together.
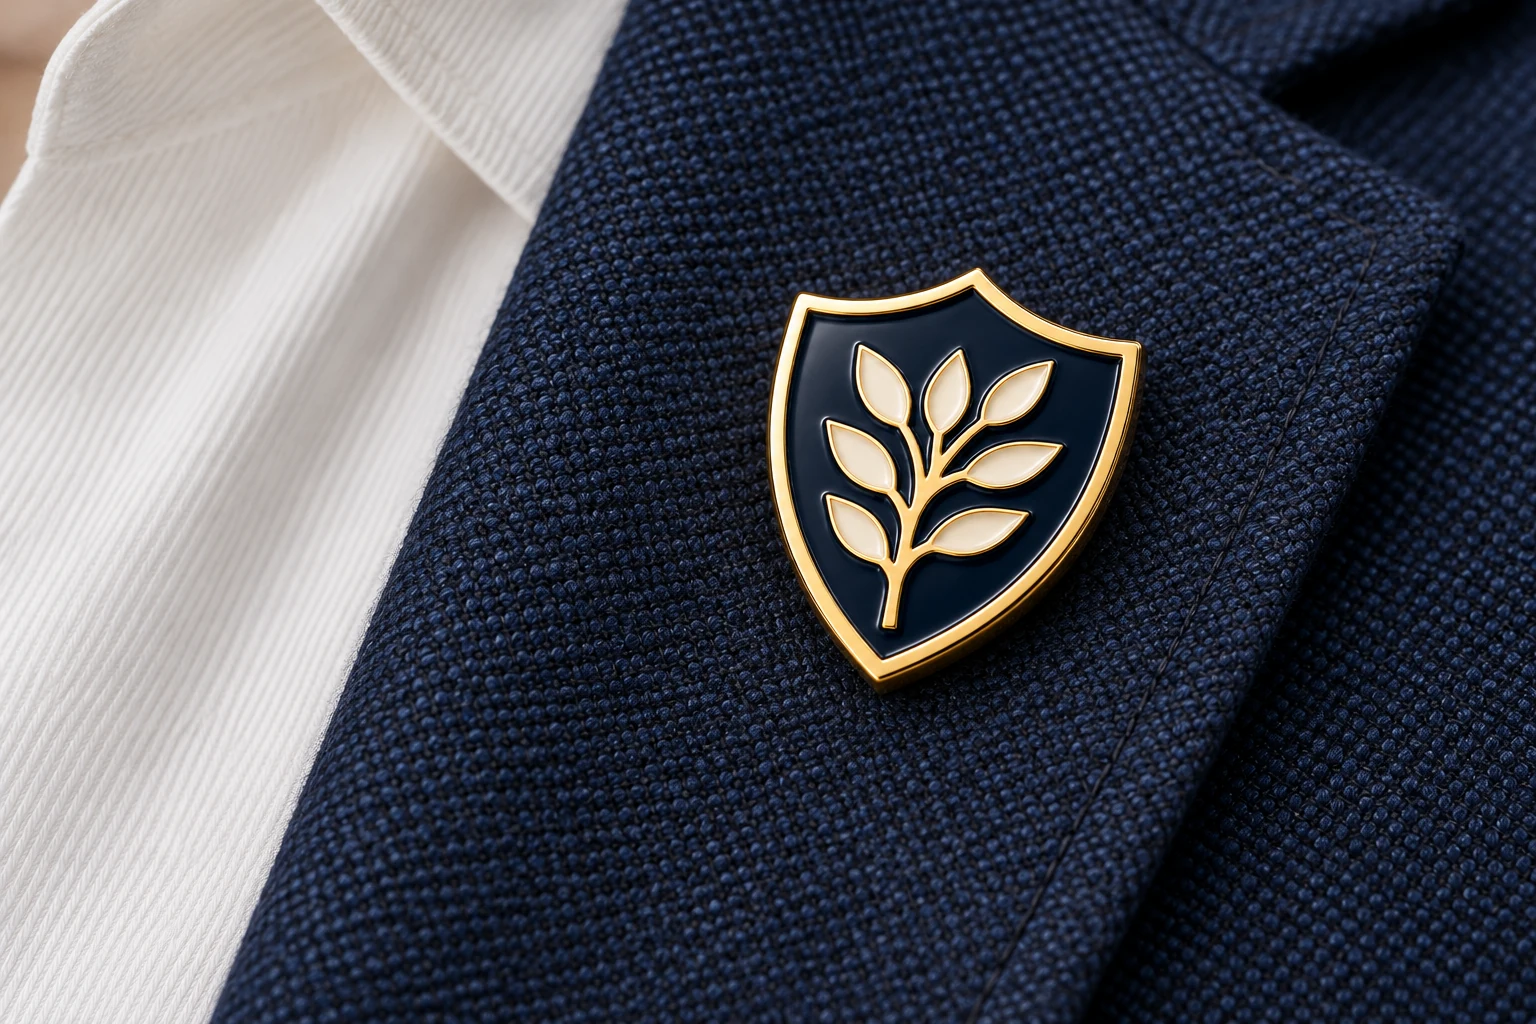
Where will it be worn?
Tell us about the garment or material and how the crest should sit.
Which way should the crest face?
Review the front, reverse and attachment together. The pictured fitting is illustrative.
06
Define each
member version.
Keep the shared crest clear. Record every change and quantity.
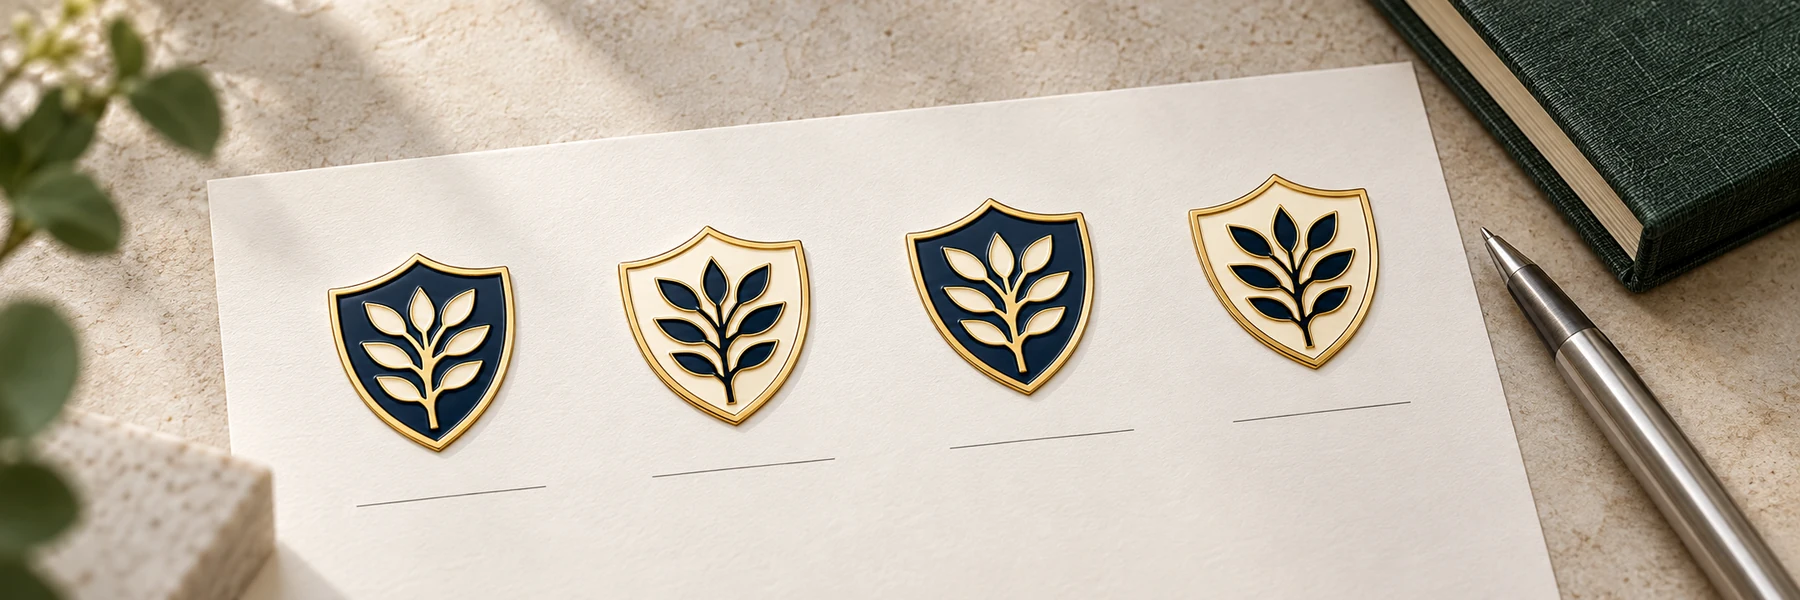
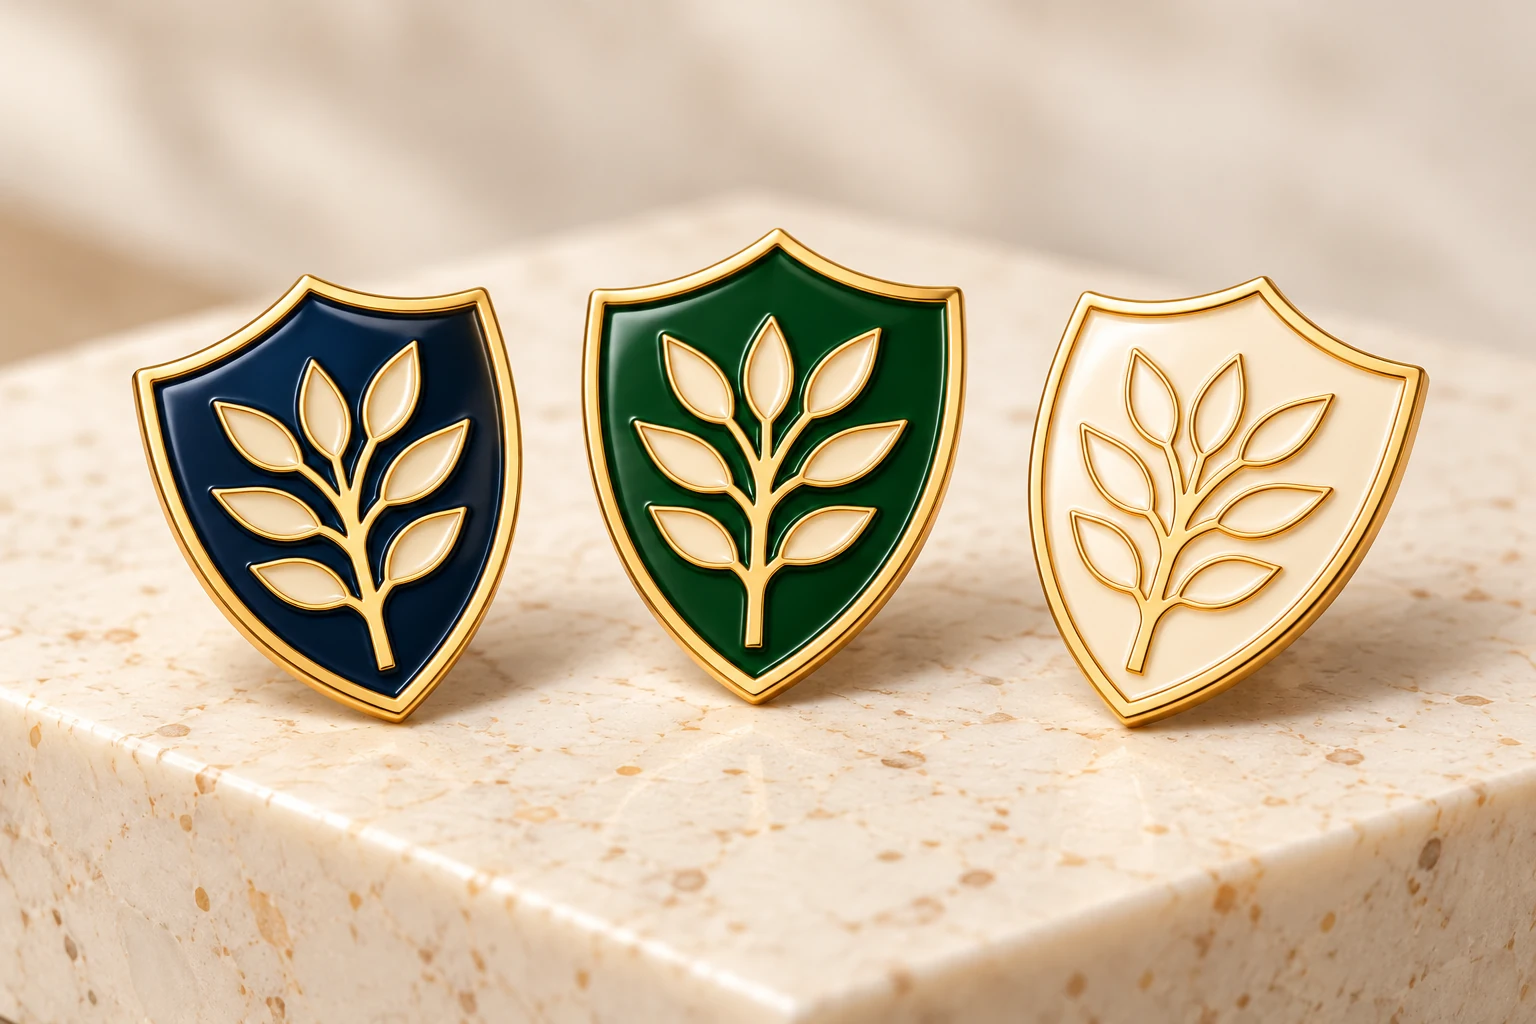
Use this register to describe the versions your organisation needs. These are illustrative directions, not stock designs.
Member
Shared crest for the member group.
- Navy field with an ivory emblem
- No additional wording in this example
- List the quantity for this version
To confirm
per version
Committee
A version for appointed committee teams.
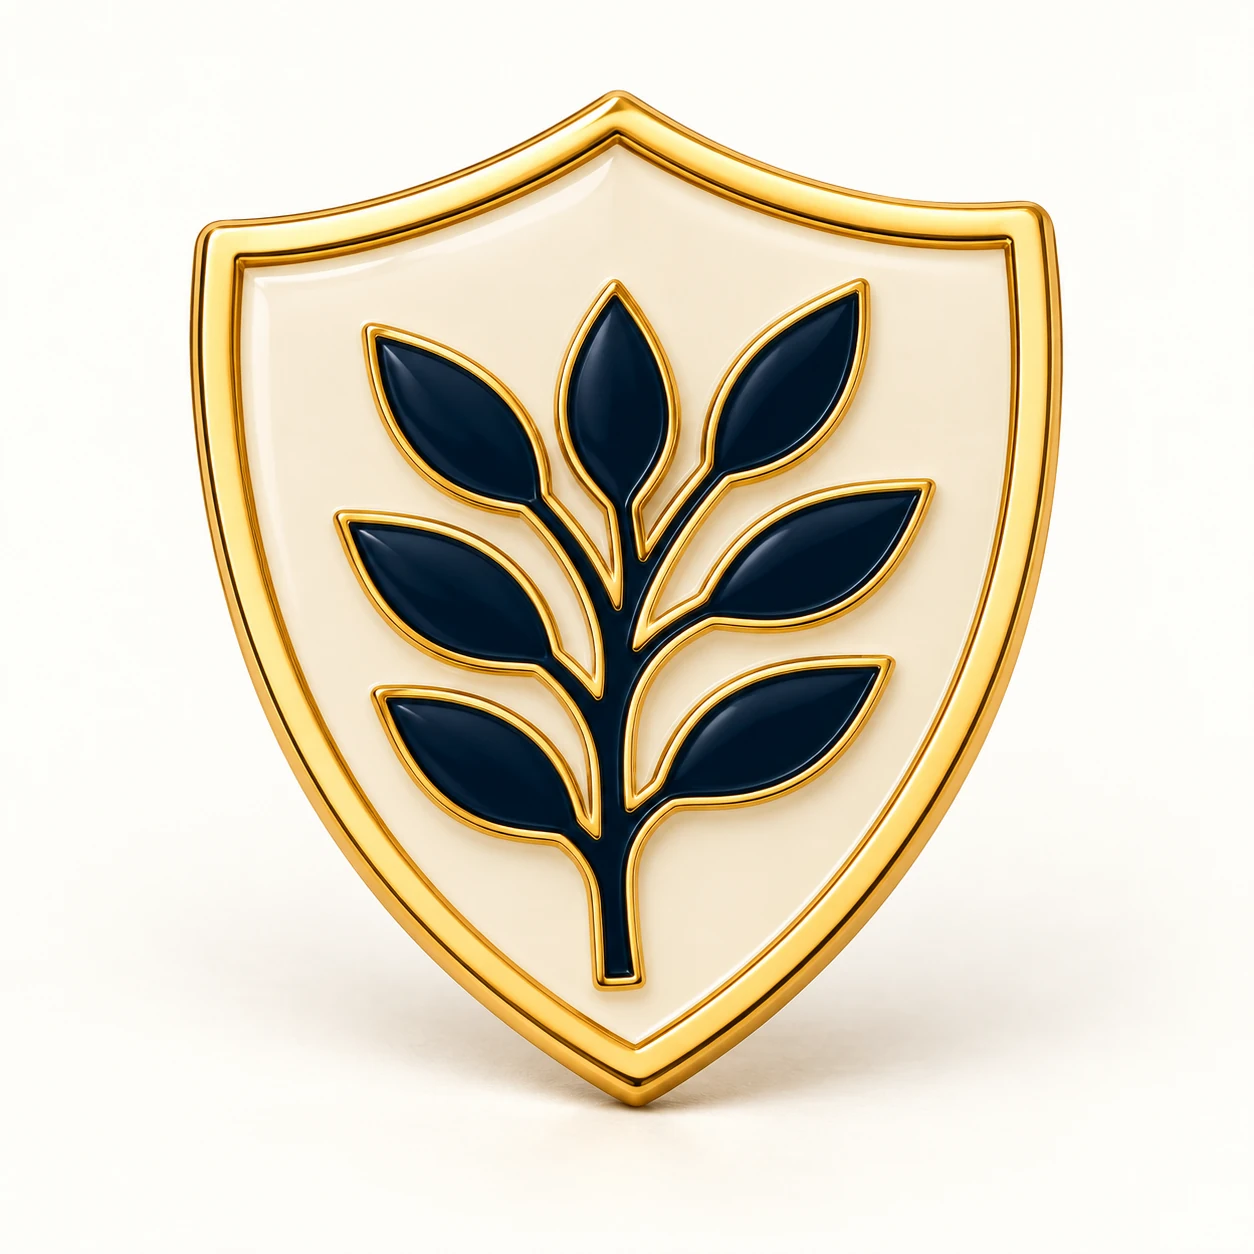
- Ivory field with a navy emblem
- Keep the outline and identity related
- Identify artwork and sample changes
To confirm
per version
Local chapter
A version for a local or regional group.
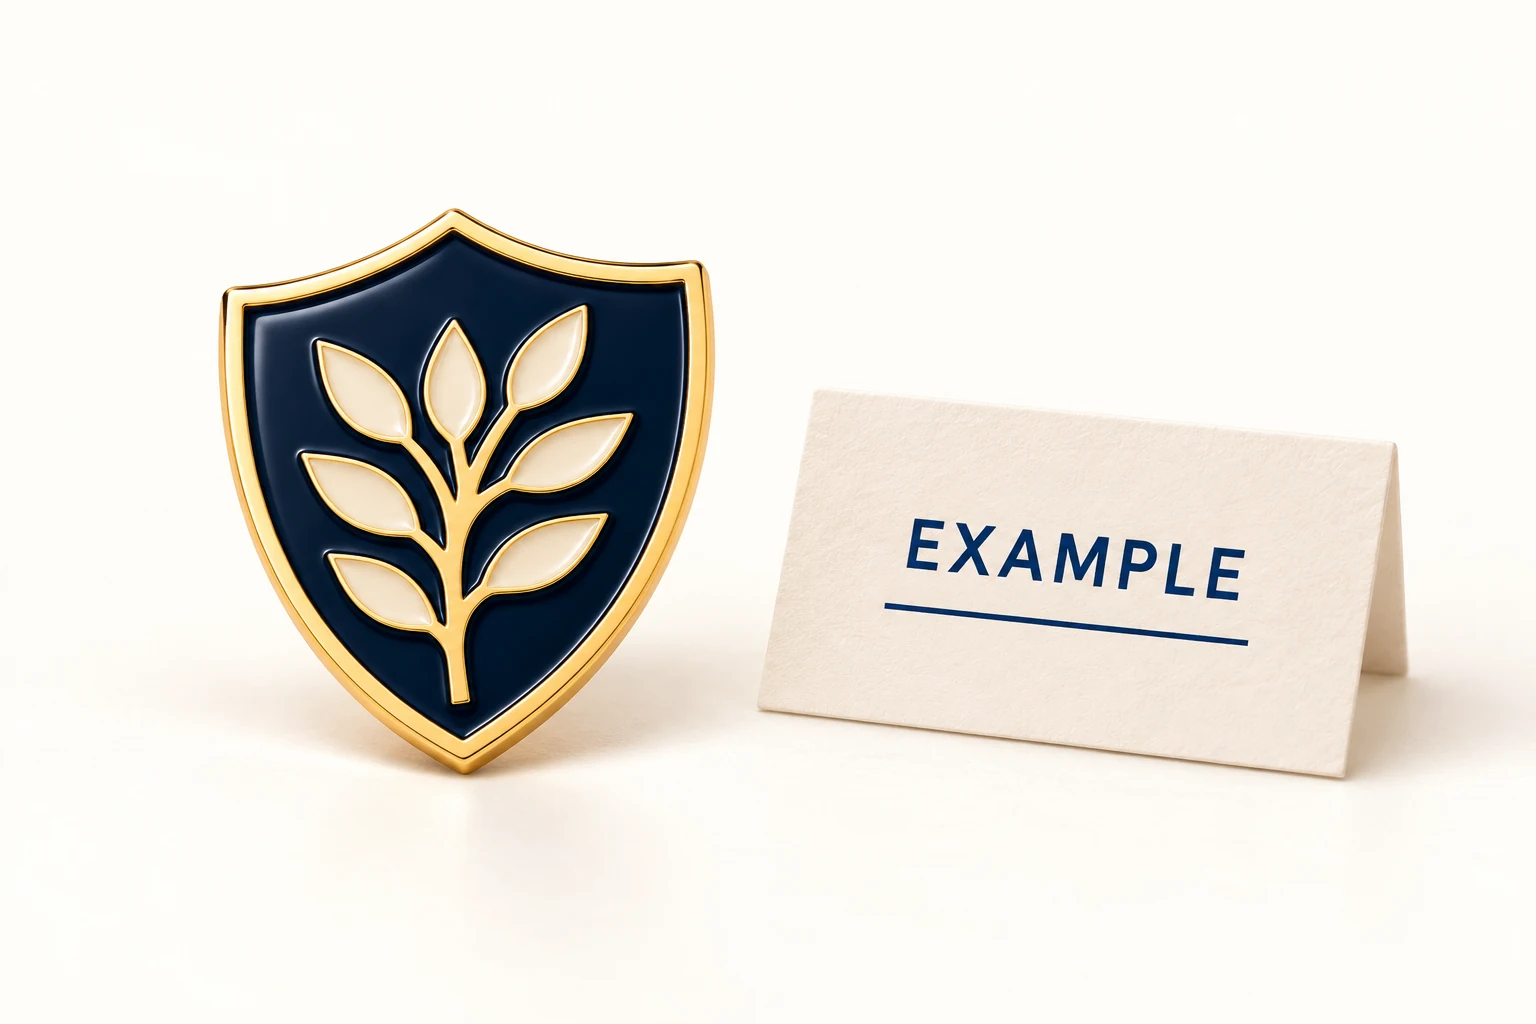
- Keep the shared crest clear
- Specify chapter wording or a separate card
- Connect each group to its quantity and packing
To confirm
per version
Changes to wording, colour or outline may affect artwork, tooling and samples. Shared appearance does not guarantee shared tooling or cost.
07
Match the pin
to its presentation.
Connect each version to the right card, fitting and packing group.
Member presentation
Define the card, pin and supplied components together.
Transit protection
Keep transport protection separate from the presentation members receive.
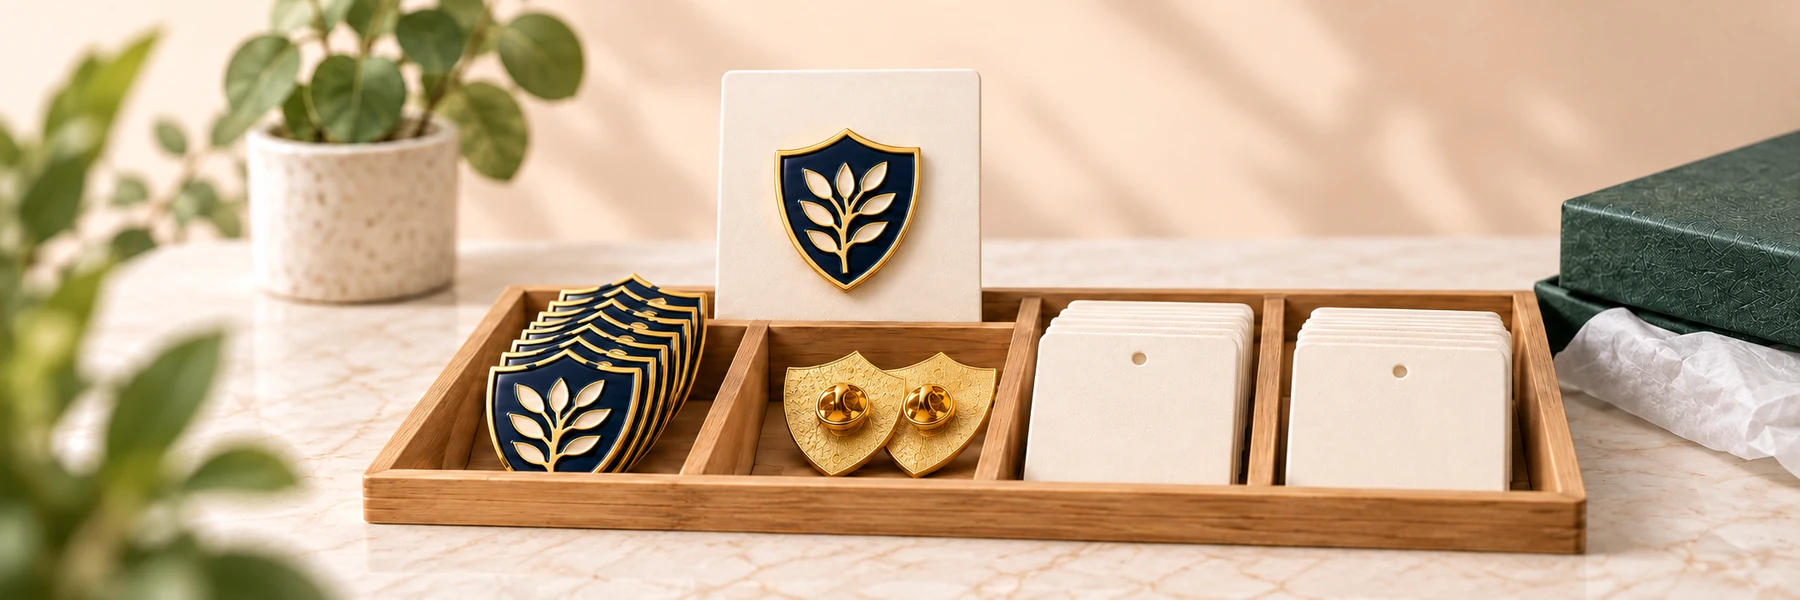
Cards and protective packing are included only when agreed in the project brief.
08
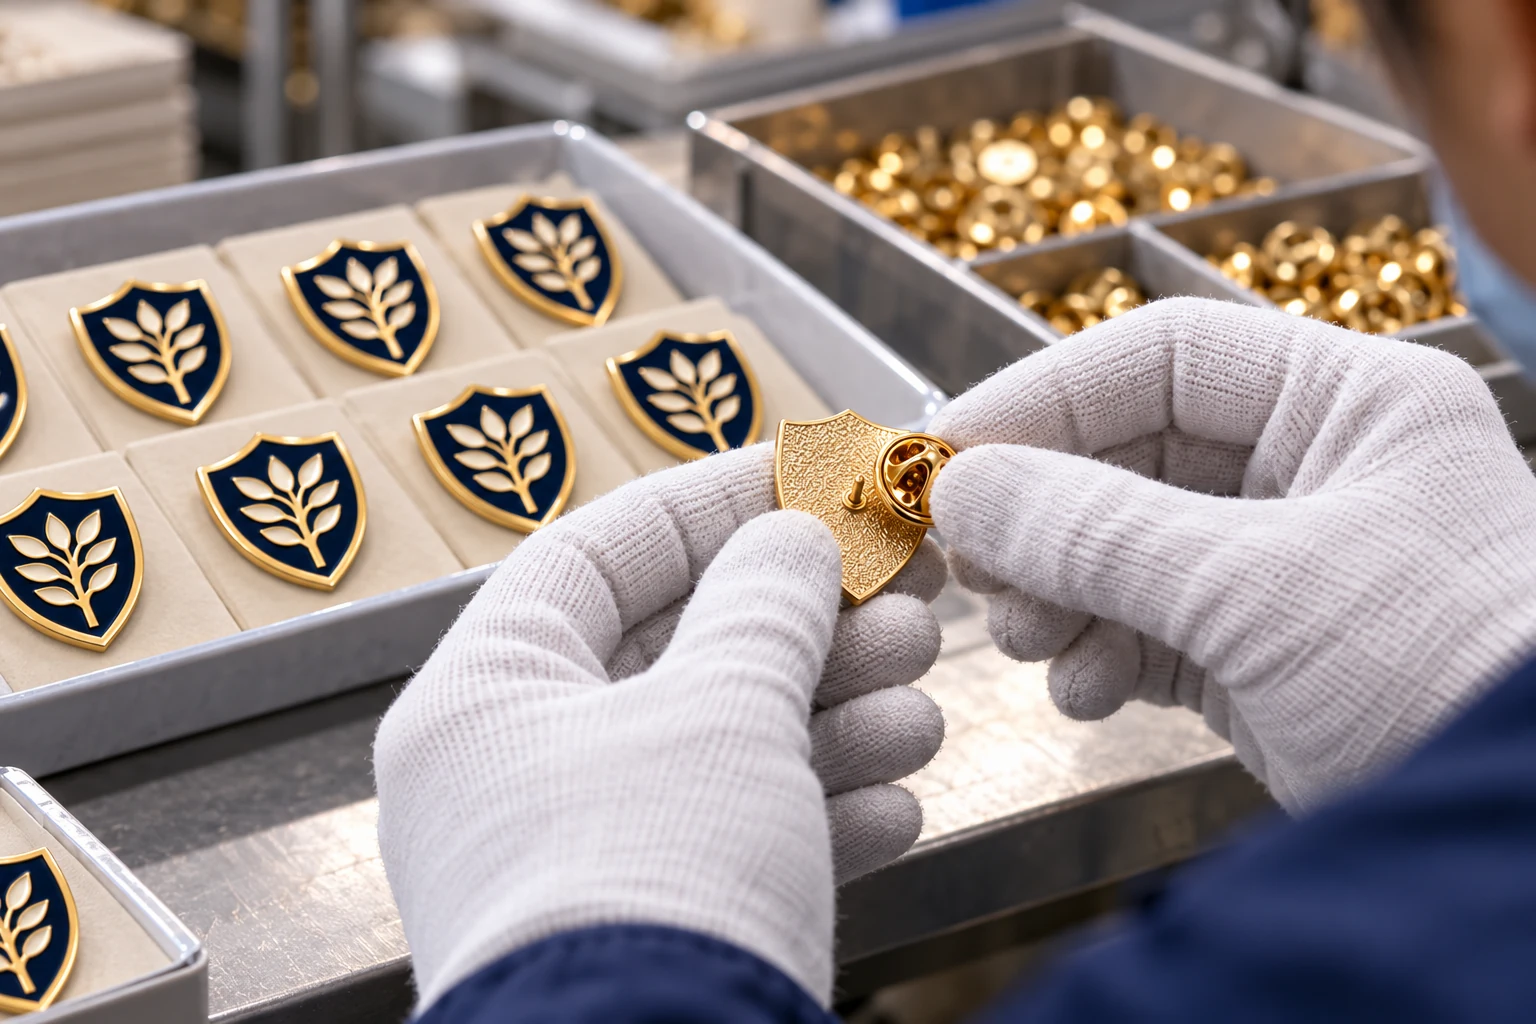
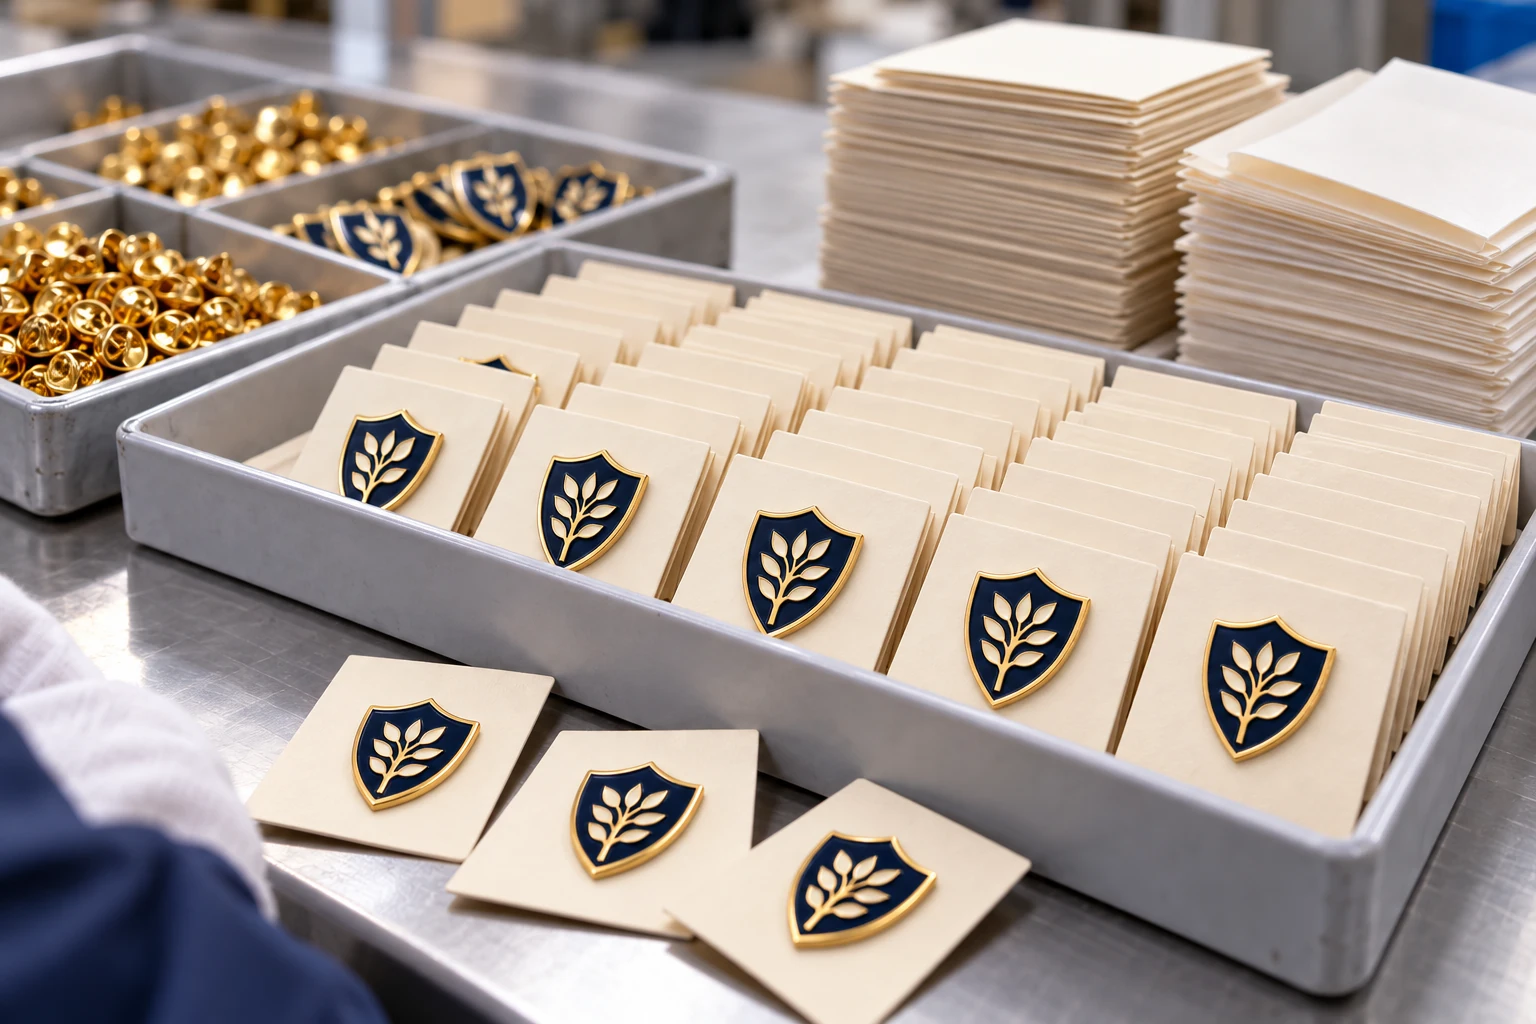
The factory behind your organisation’s pins.
Our own factory in Hangzhou, China carries out tooling, metal forming, colouring, polishing, plating, assembly, inspection and packing.
AI-generated illustrations — actual factory photographs to follow.
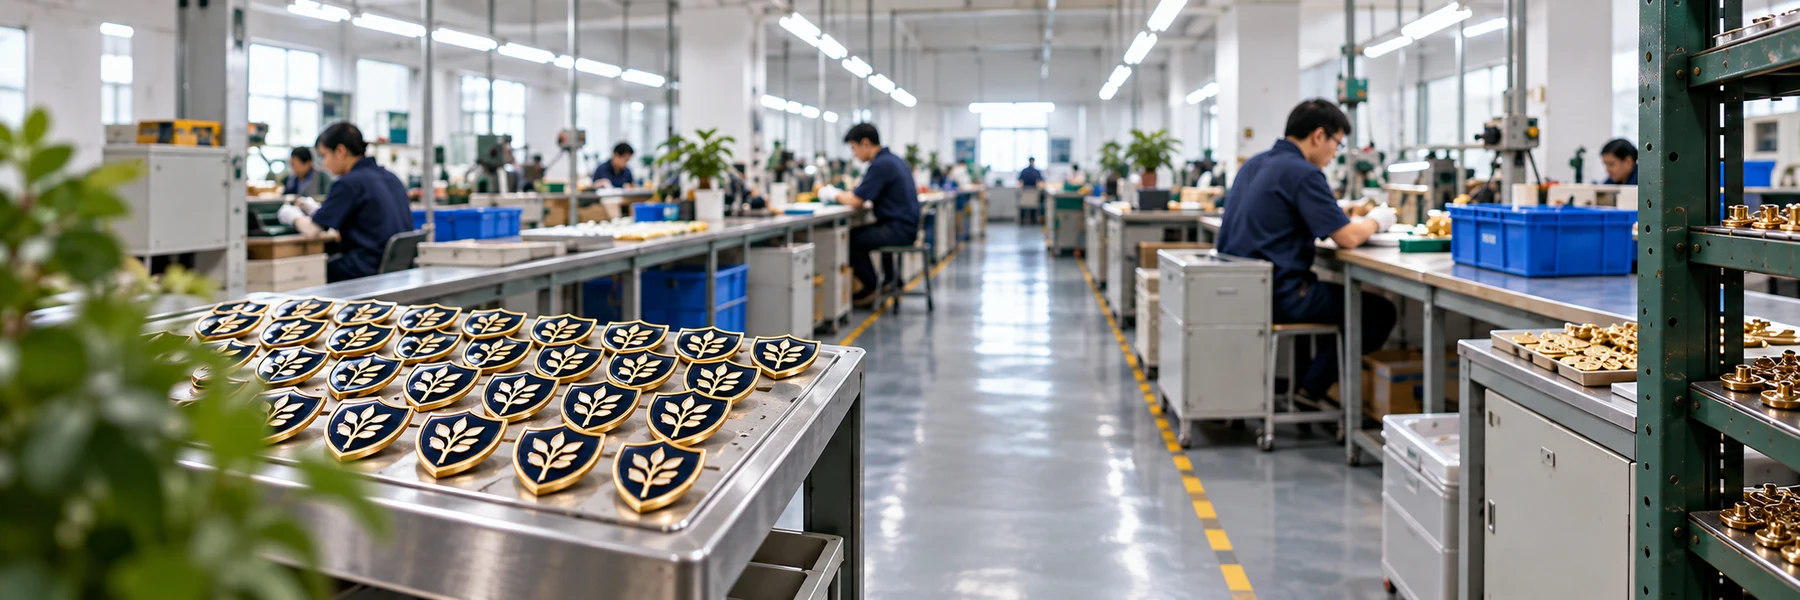
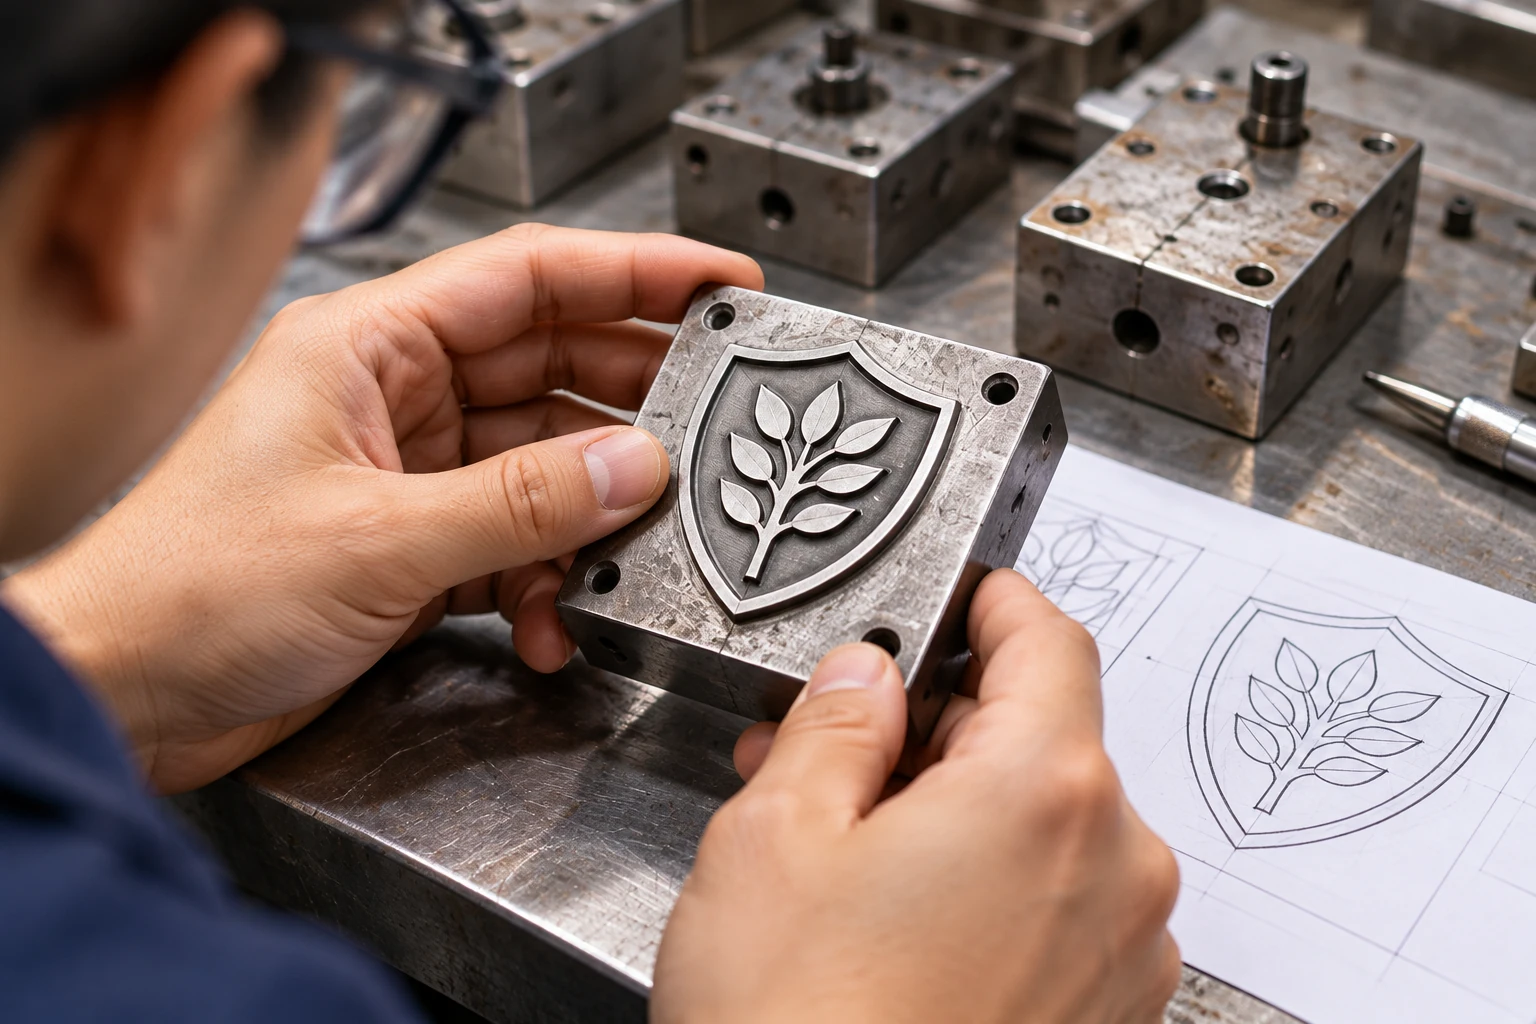
Tooling &
metal forming
Define the crest and its metal boundaries. Form the agreed outline and detail.
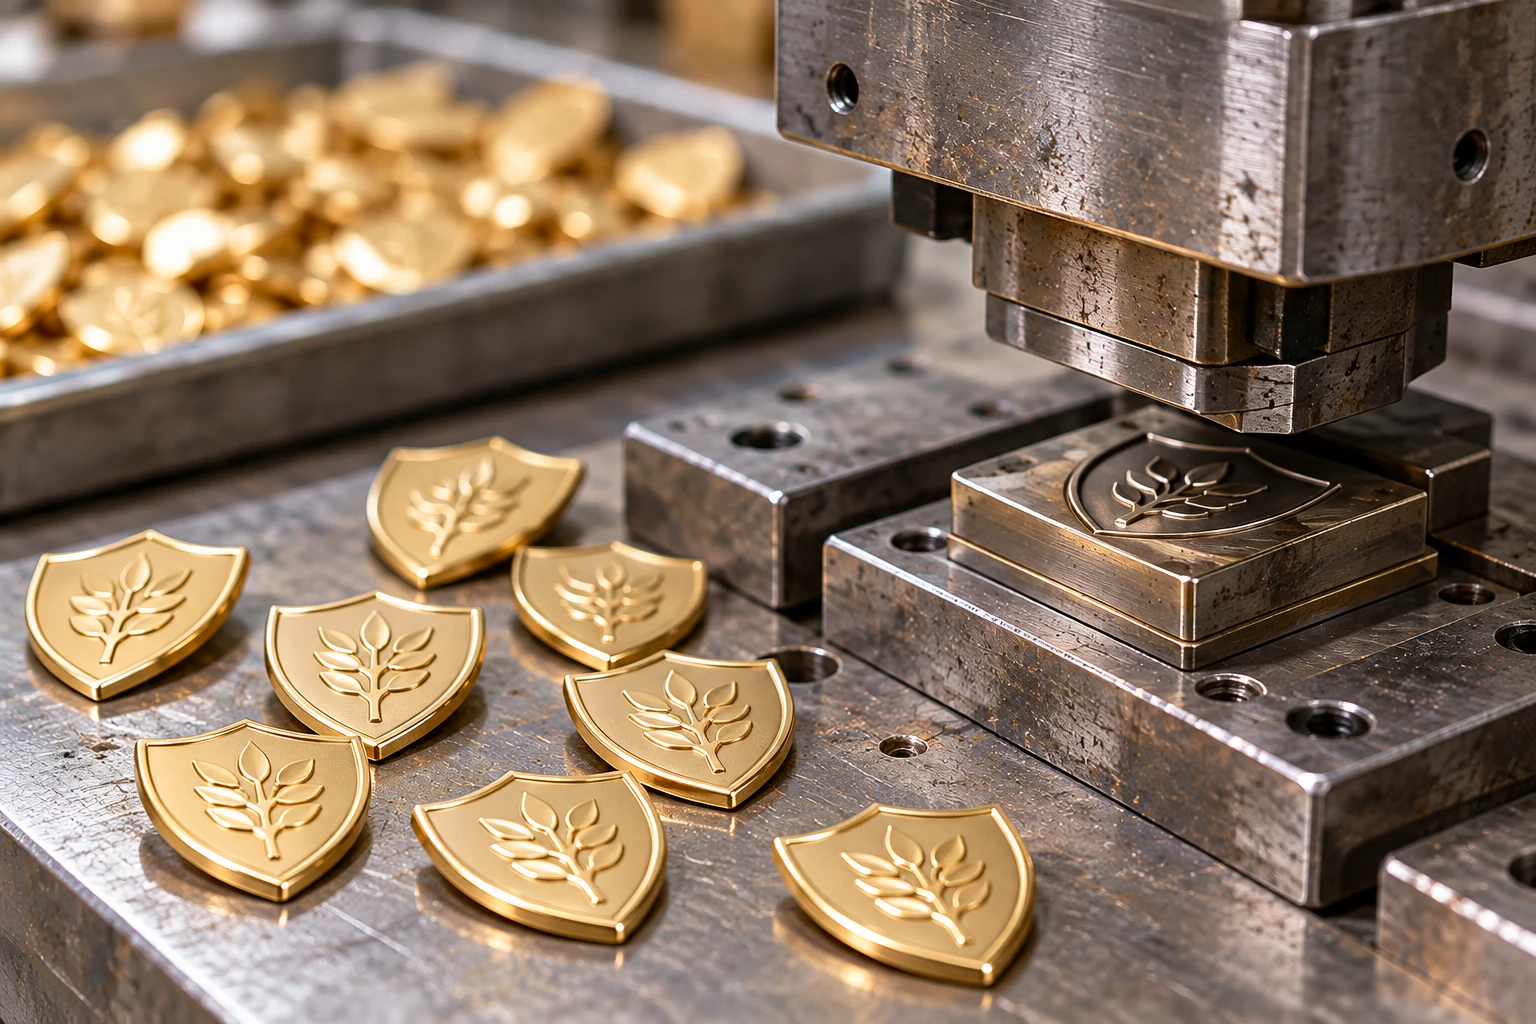
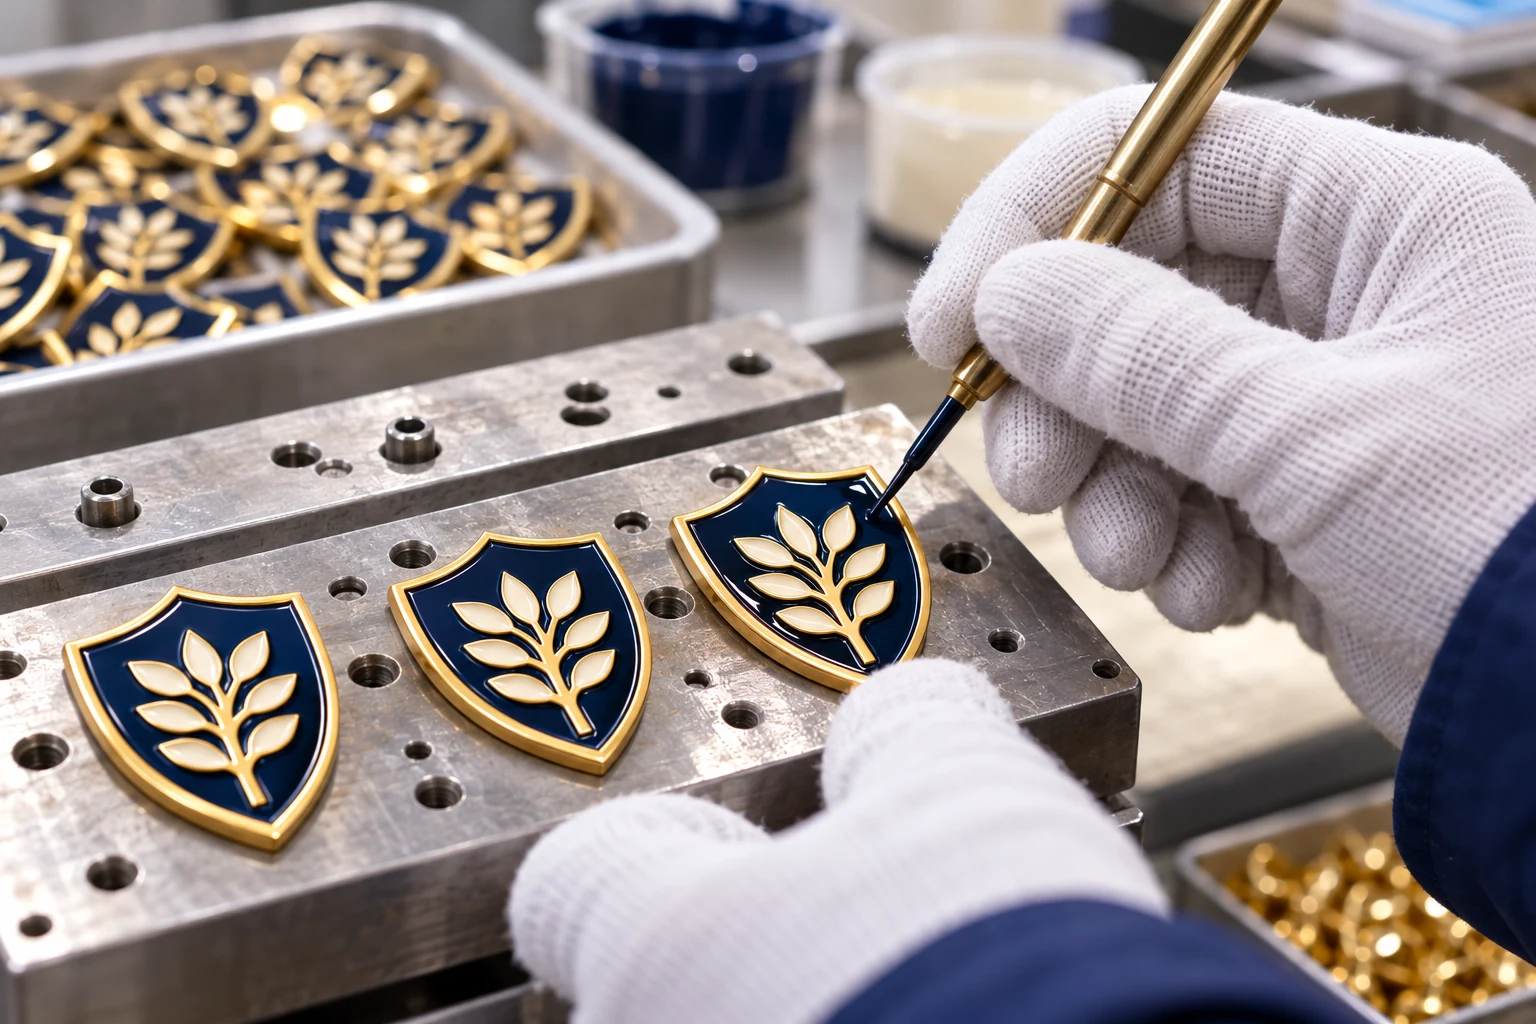
Colouring &
polishing
Control the defined colour areas. Review the surface and edge finish.
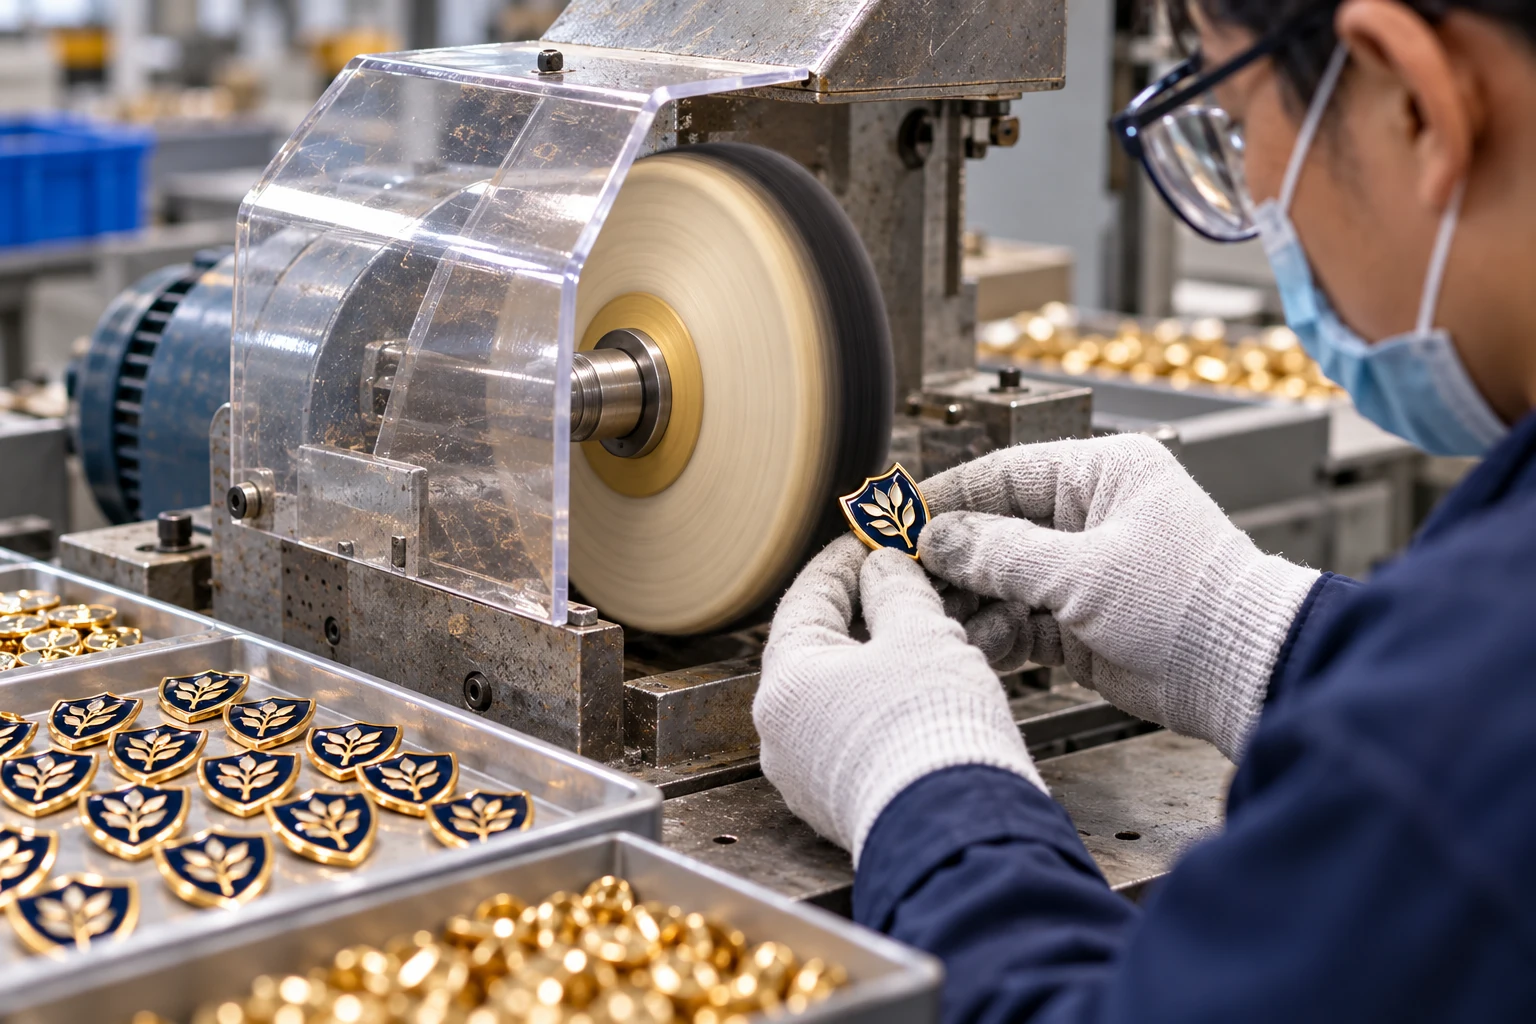
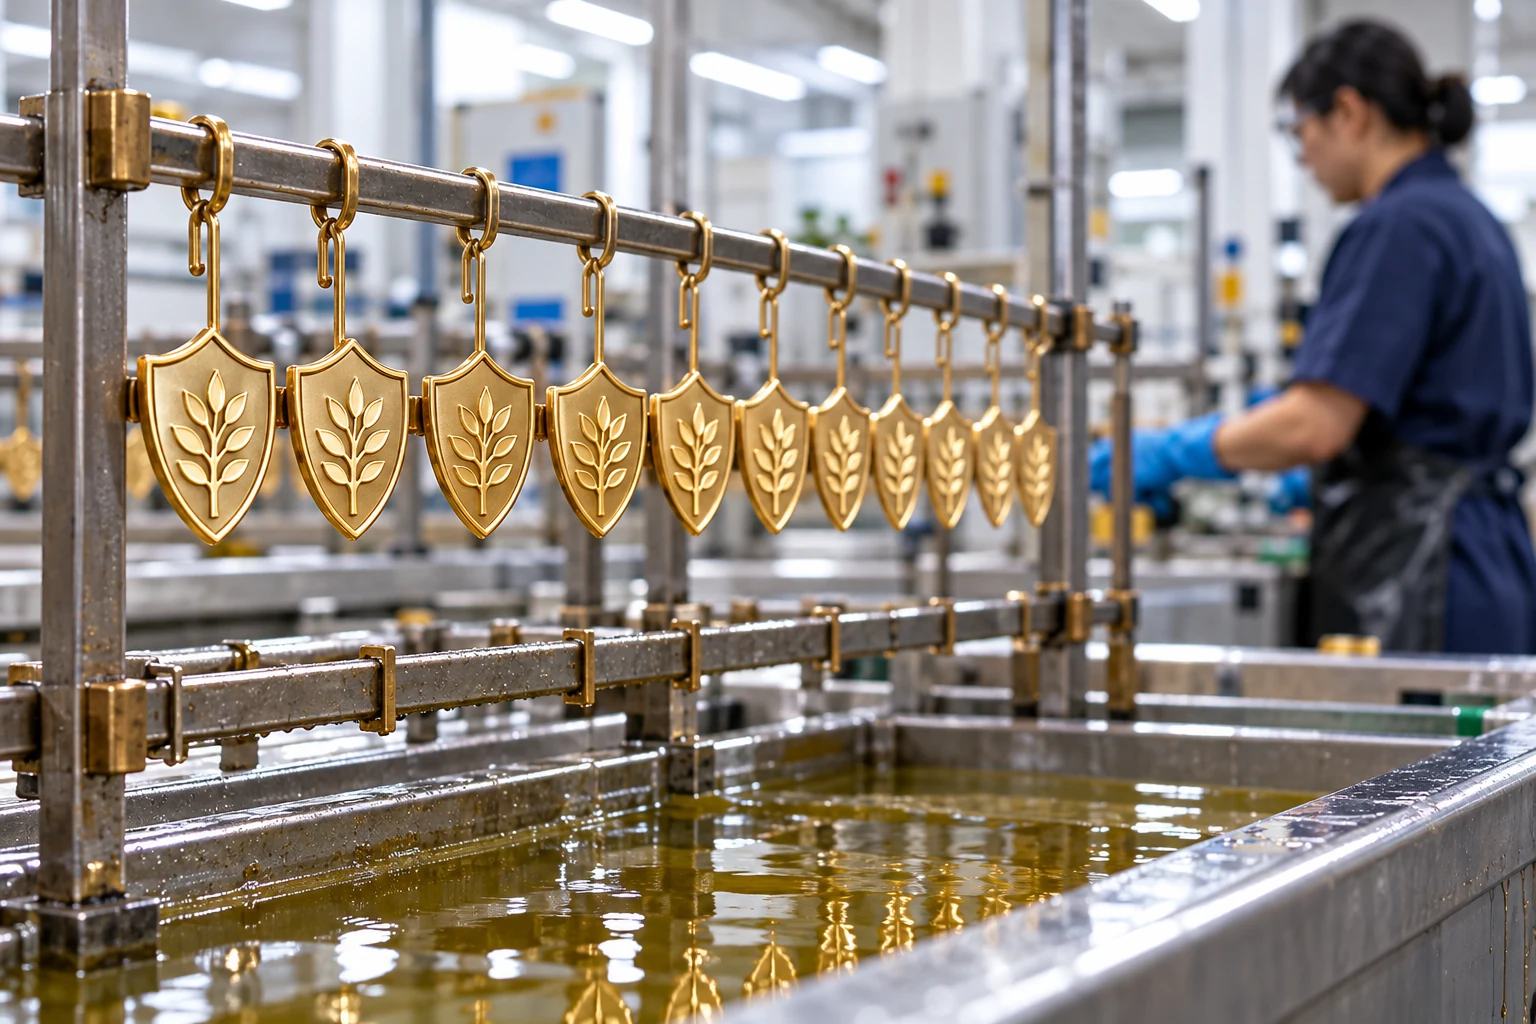
Plating &
assembly
Coordinate the metal finish with the selected route. Connect the pin, fitting and supplied components.
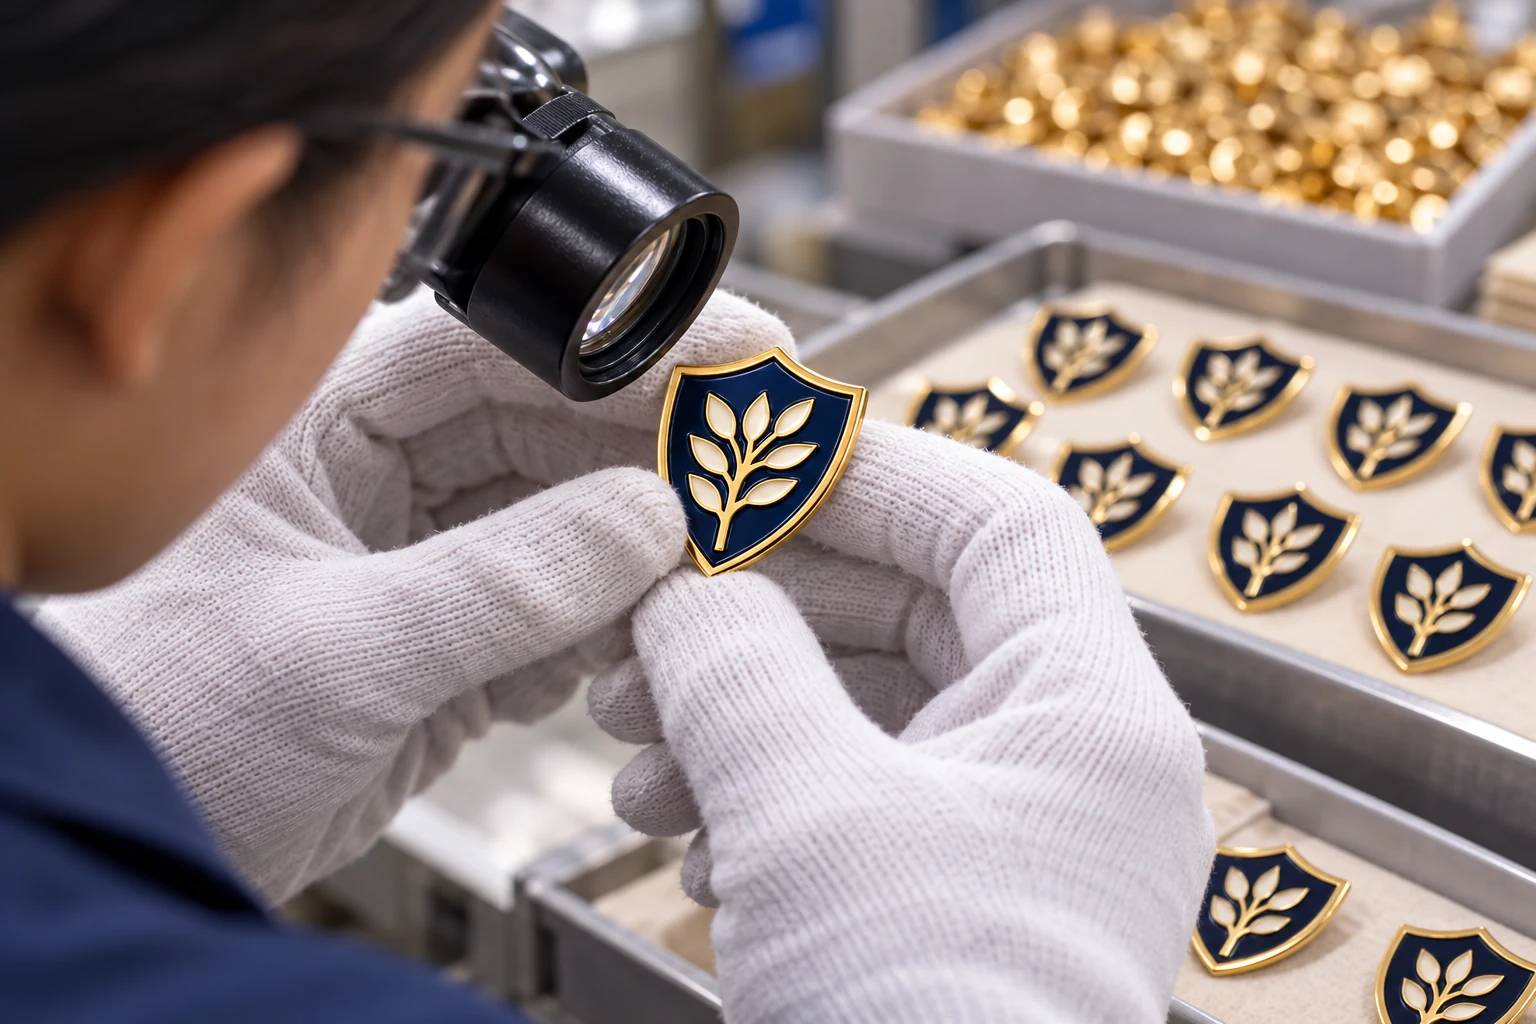
Inspection &
packing
Review the issued version and supplied scope. Keep each version and its presentation together.
09
Follow the crest through production.
See how the agreed design becomes a finished organisation pin.
AI process illustrations — route and sequence depend on the specification.
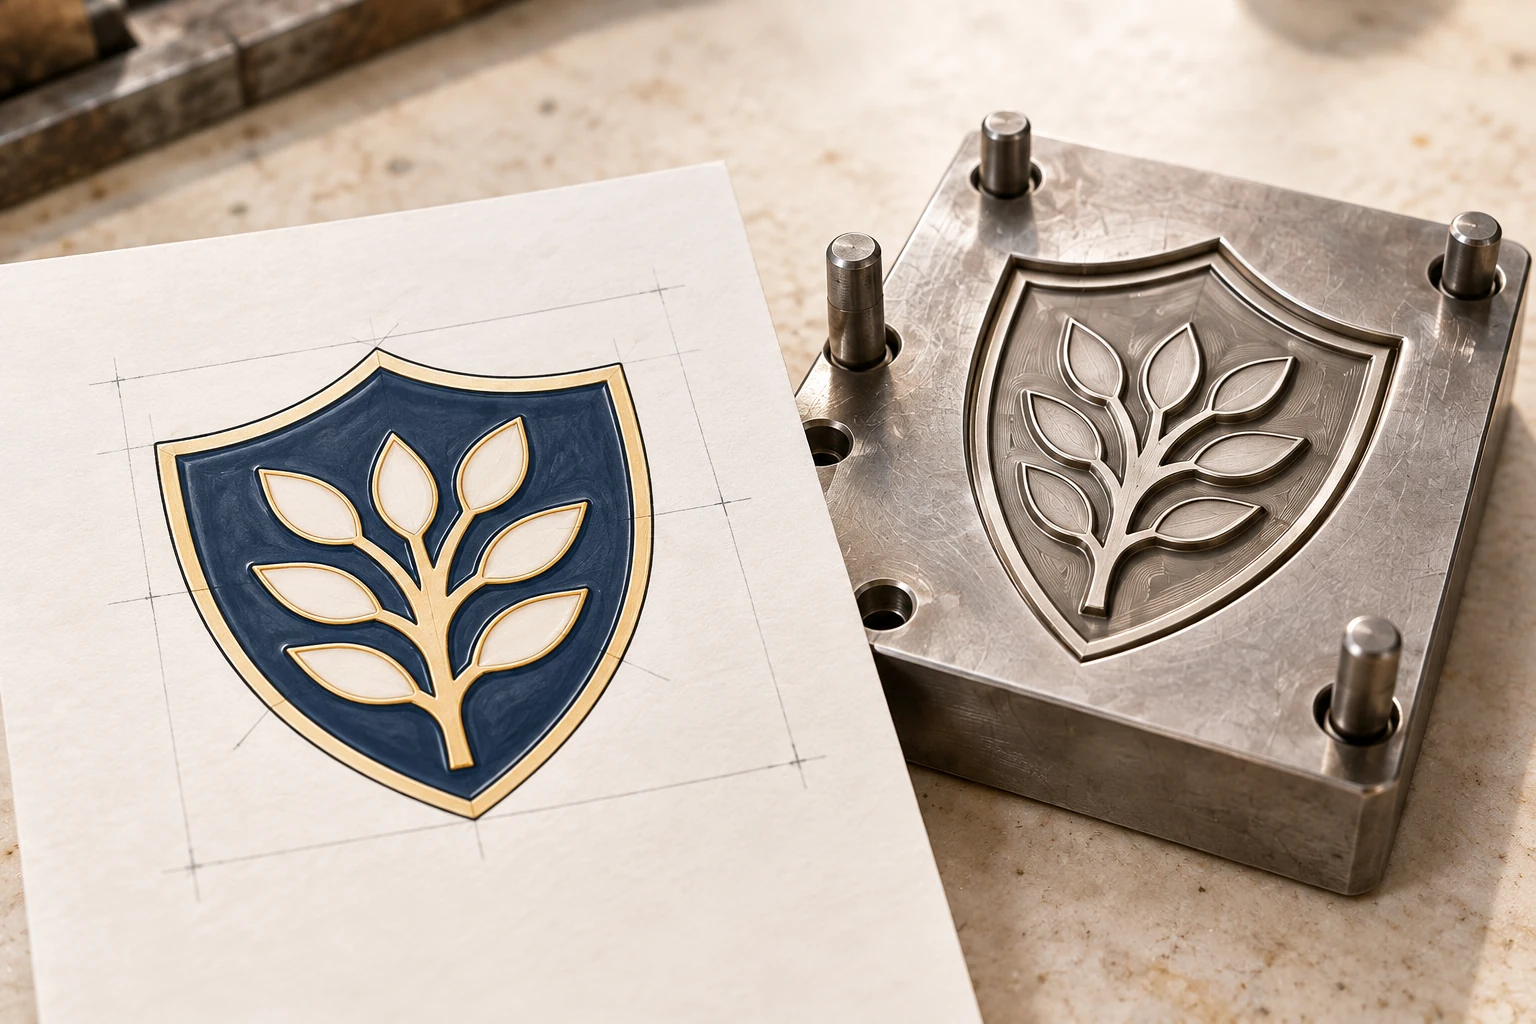
Artwork & tooling
Refine the artwork and prepare tooling for the agreed crest.
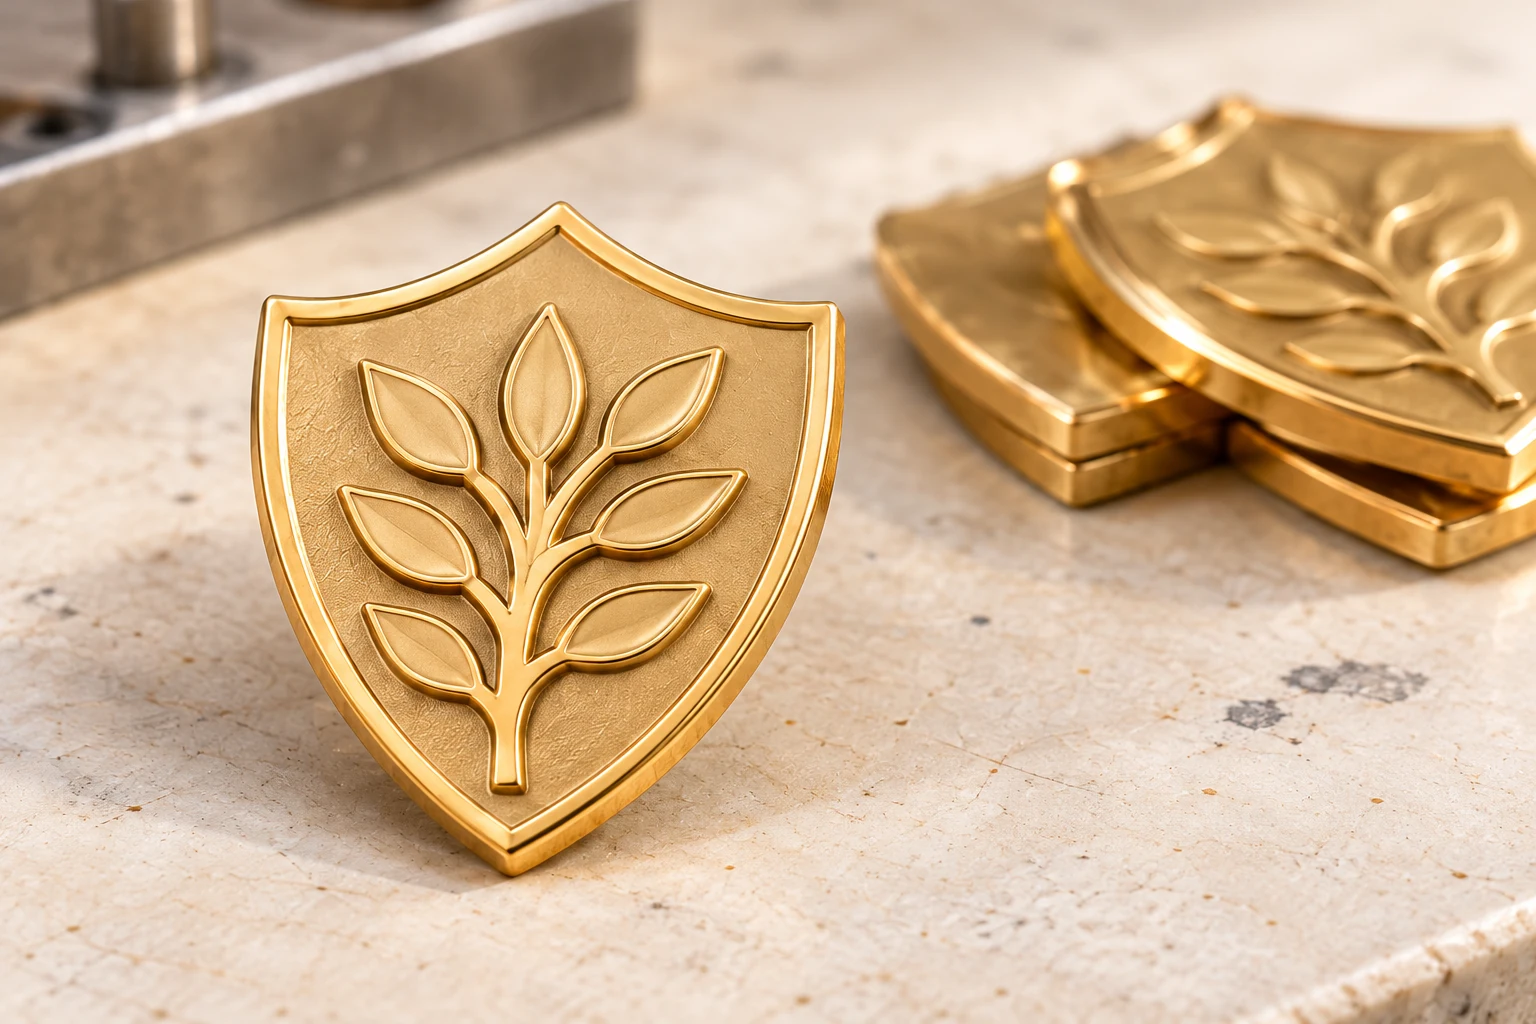
Metal forming
Form the metal outline and its defined boundaries.
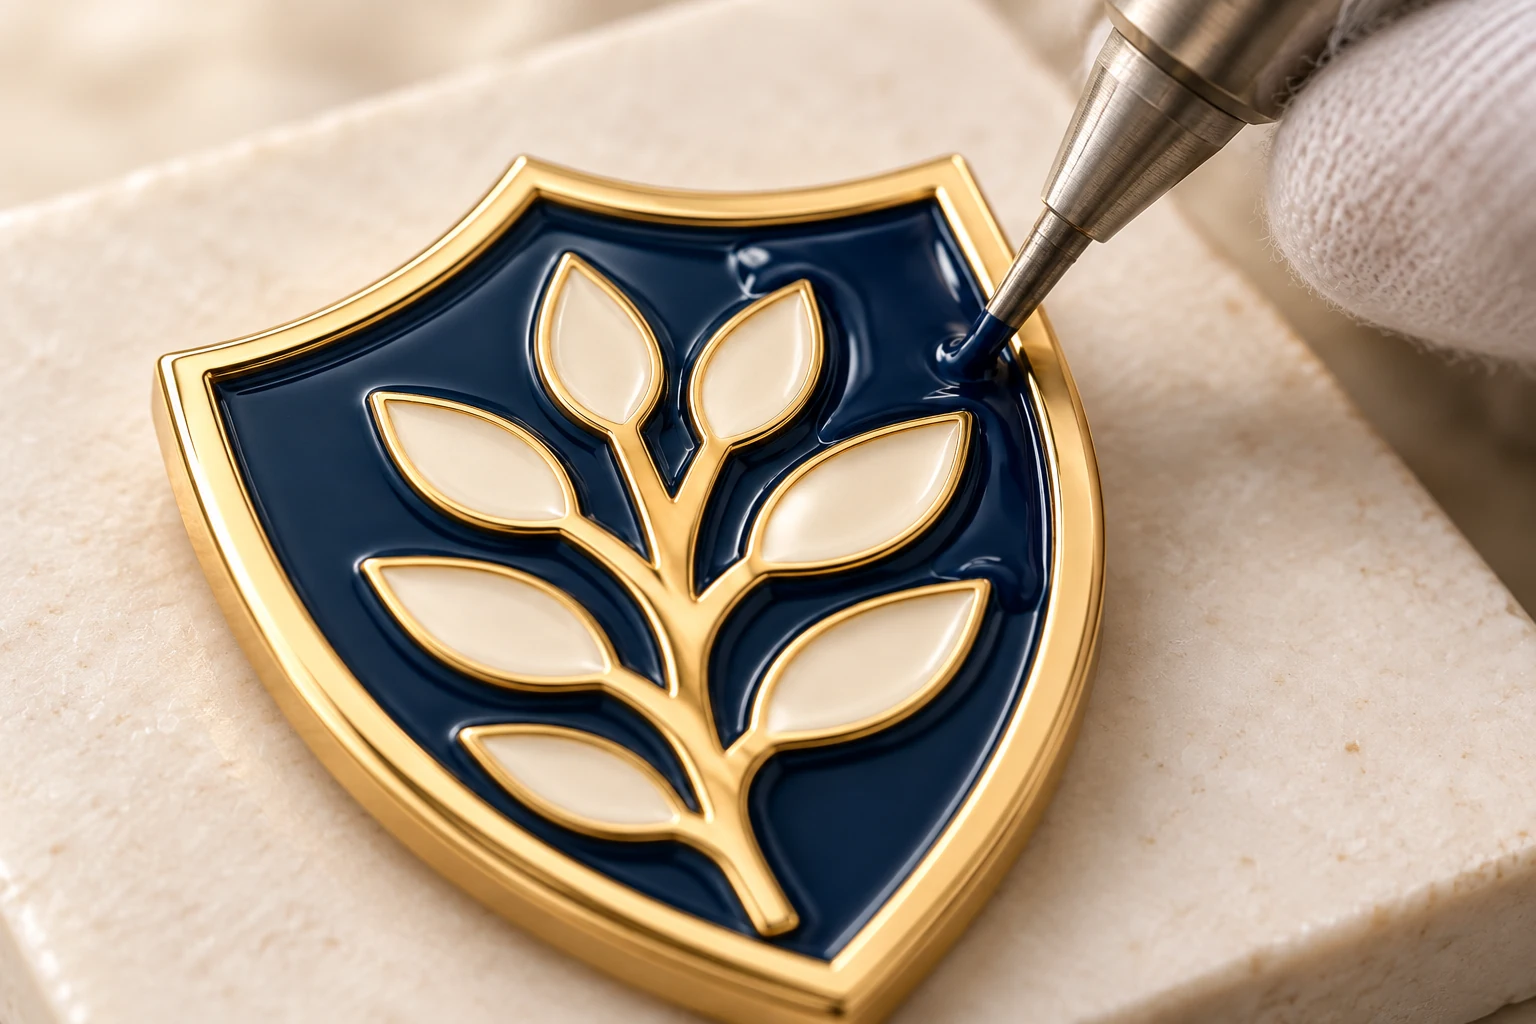
Surface route to agree
Soft enamel route
Recessed colour areas and raised metal boundaries.
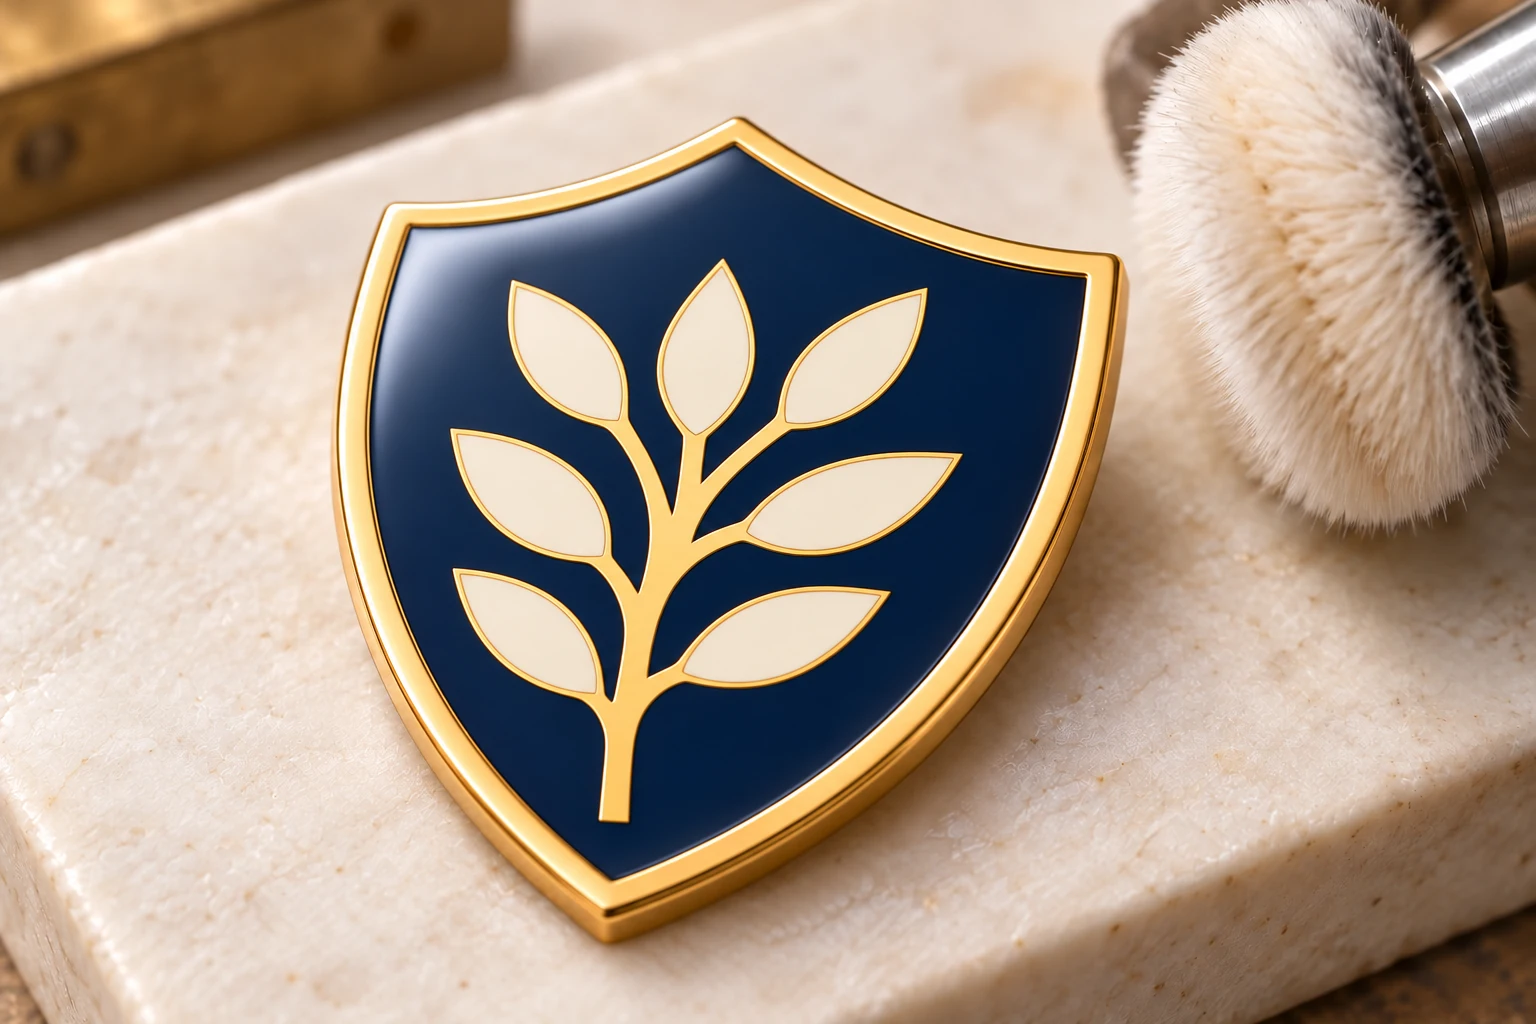
Hard enamel route
Filling and polishing for a more level surface.
Metal surface treatment
Coordinate polishing and plating with the selected route. The exact sequence is agreed for the project.
Fitting & assembly
Agree and check fitting position and supplied components.
Review
Check the finished pin against the approved reference.
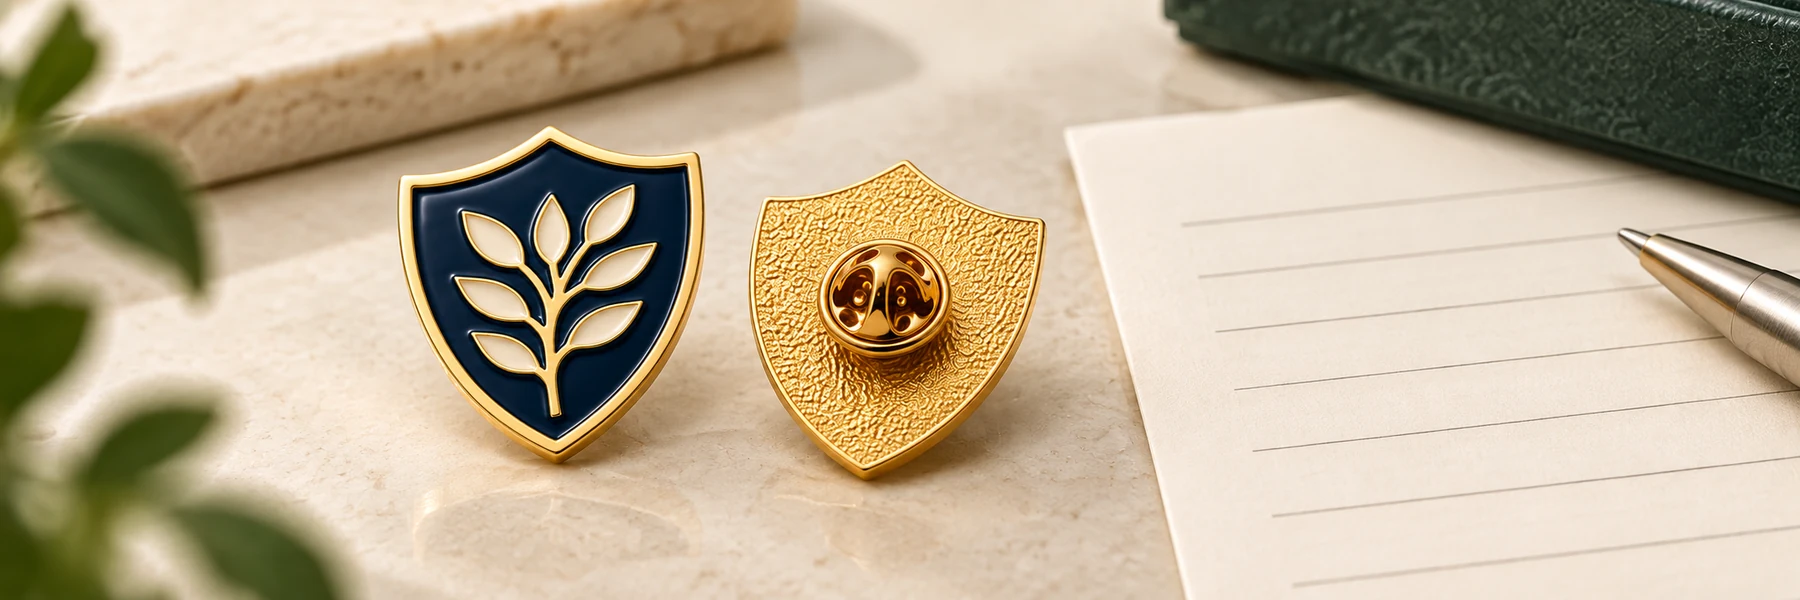
Packing
Connect each version with its agreed presentation.
This is an explanatory production relationship, not a fixed factory SOP. Artwork, finish, reverse and packing remain linked to the agreed version.
10
Agree the project, step by step.
Your team’s inputs. Our review. One agreed brief.
- 1
Organisation brief
1Organisation brief
Your teamSend the authorised crest, intended use and version ideas.
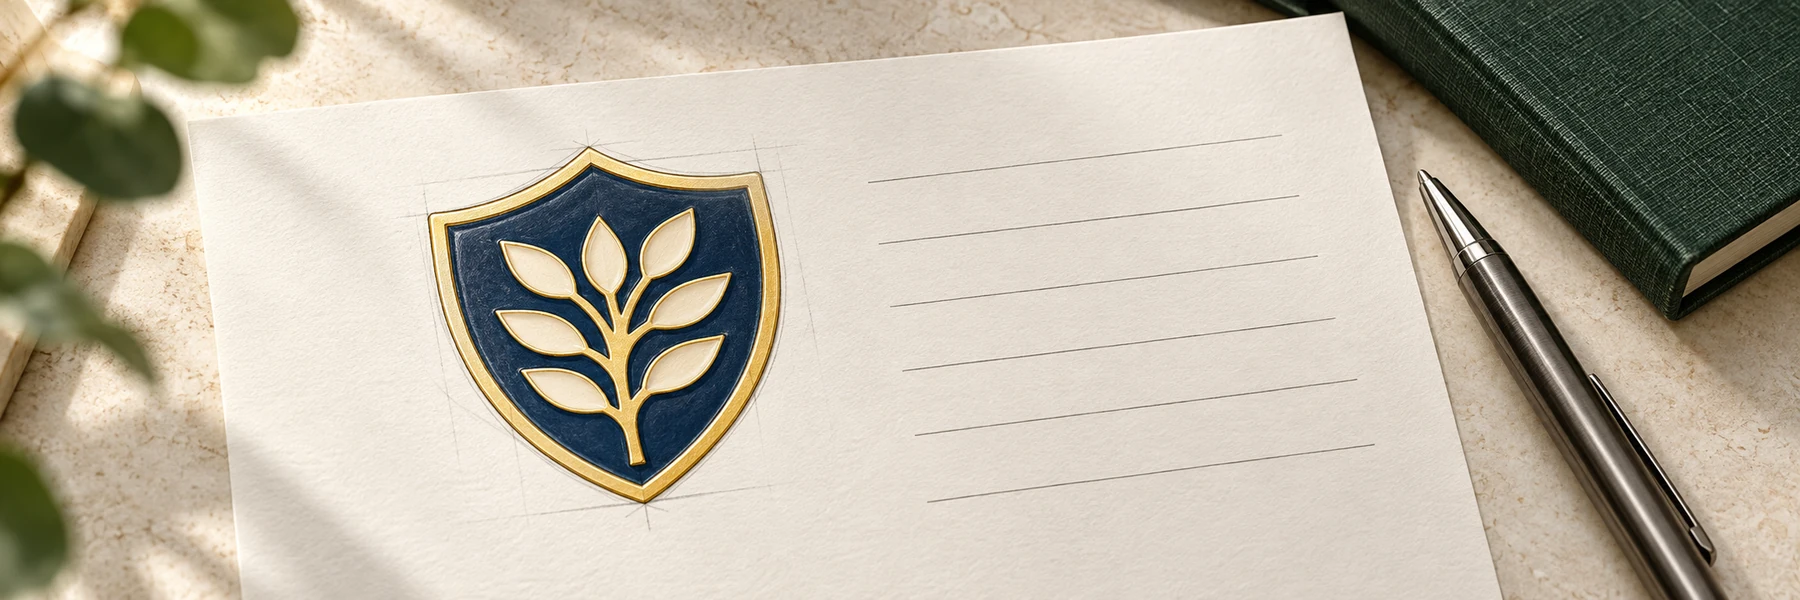 Our review
Identify missing information and whether the project starts with supplied artwork, original development or adaptation.
- 2
Specification
2Specification
Your teamState size direction, quantities and surface, fitting and presentation preferences.
 Our review
Review the artwork, surface, fittings and supplied scope together.
- 3
Artwork & sample review
3Artwork & sample review
Your teamReturn clear comments for each version.
Our reviewAgree the sample scope, review references and changes before confirming production.
- 4
Production agreement
4Production agreement
Your teamConfirm the version list, quantities, packing and delivery needs.
 Our review
Define the approved scope and discuss the project-specific schedule.
- 5
Packing & dispatch
5Packing & dispatch
Your teamConfirm distribution groups, destination and requested arrival timing.
 Our review
Review grouped packing and shipment arrangements against the agreed scope.
No fixed minimum quantity, sample price or lead time is assumed.
11
Review the issued version.
Compare the sample with the agreed artwork and supplied scope. Keep a clear reference for repeat requests.
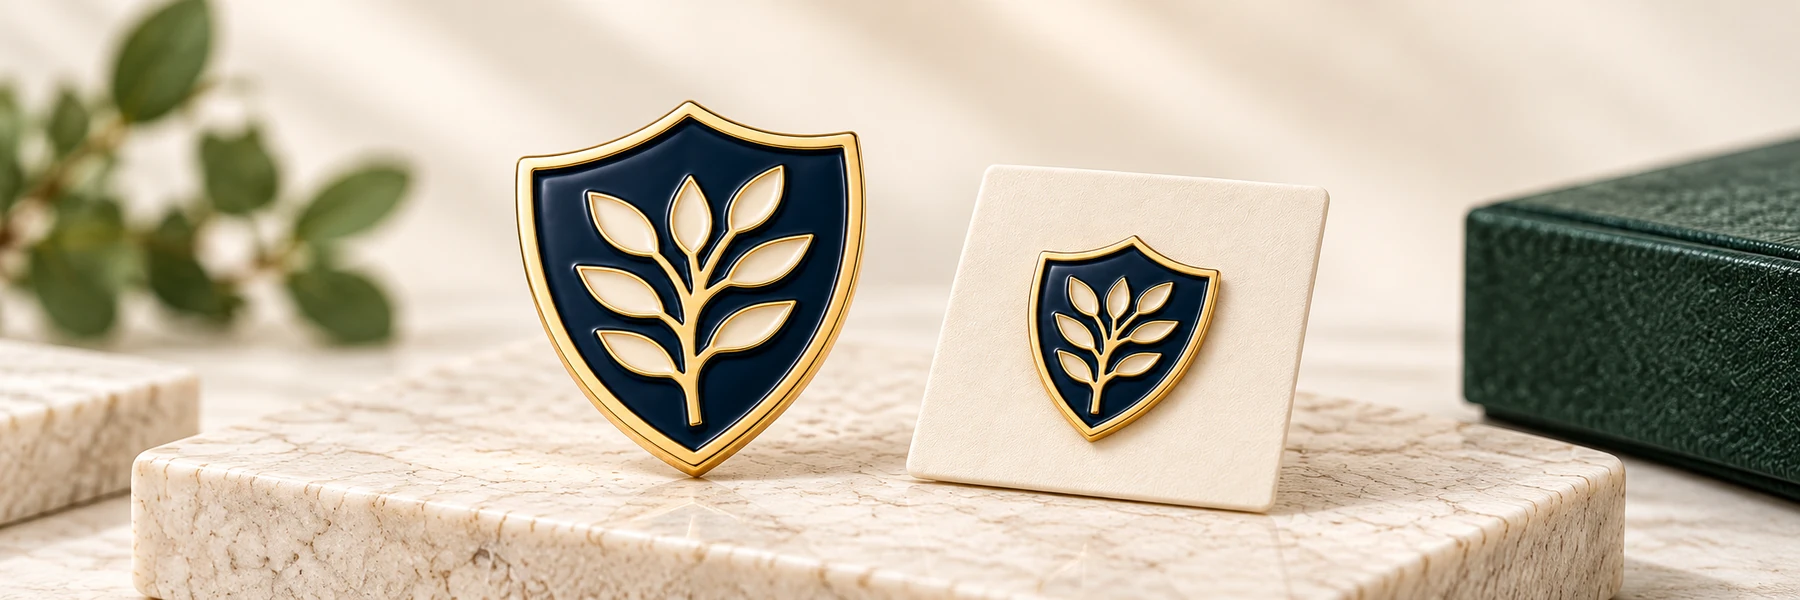
Name & emblem
Check the crest against the agreed artwork and colours.
Metal boundaries
Review the surface and edge finish.
Reverse & fitting
Confirm position and wearing direction.
Card & packing
Connect each version to the agreed presentation.
- Approved reference
- Artwork and sample record
- Version name
- Identity and supply group
- Changes to review
- List updates for the next request
A repeat request is reviewed again for current scope, sample needs and timing; unchanged pricing or indefinite tooling storage is not assumed.
12
Questions before
commissioning club pins.
Answers about artwork, versions and supply for your organisation’s custom pin project.
Artwork
From your crest
to a pin design.
Review wording, shape and surface together.
01Can you develop custom pins from our club or association crest?
Yes. The project can start from your authorised crest, a new design brief or an existing direction that needs adaptation. Identify the organisation name, emblem, wording and colours that must remain recognisable. Include the intended use and size direction. The pin artwork and manufacturing details are reviewed for your organisation before the production scope is agreed.
02What if our organisation name or motto is too long for the pin?
Review the wording at the proposed finished size alongside the emblem and border. A short name, approved abbreviation or different arrangement may make the design clearer, but the organisation should approve any change. Do not judge readability only from an enlarged screen image. The artwork review should record which wording is essential and which details may be adjusted.
03Is soft or hard enamel better for a detailed club crest?
Neither is automatically the right choice for every crest. Soft enamel has recessed colour areas and raised metal boundaries; hard enamel is polished to a more level surface. Review the lettering, spaces between details, border and colour areas together with the proposed size and finish. The selected surface does not remove the need to approve the artwork and review the sample arrangement.
04Does an organisation pin have to use a shield shape?
No. The shield on this page is an illustrative concept. Your pin outline can follow the authorised emblem or use a surrounding shape that gives the name and symbol room to read. Discuss the front, reverse and wearing orientation together. The final outline and construction need review for the intended project rather than being copied automatically from this example.
Versions
Multiple versions
for your organisation.
Describe members, committee teams and local chapters.
05Can members, committee teams and local chapters have different versions?
Yes, different versions can form part of the brief. Identify the shared crest and list every change in wording, colour, outline or presentation. Provide quantities for each version. Changes may affect artwork, tooling and sample requirements, so a shared appearance must not be treated as a guarantee that every version uses the same tooling or has the same cost.
06How should we specify the fitting and wearing direction?
Explain where the pin will be worn, the intended orientation and the material it will attach to. Review the reverse and fitting positions alongside the front design, especially if the crest is tall or unevenly weighted. The pictured fitting is illustrative. The chosen attachment, assembly and supplied components need to be included in the agreed specification.
07How do we list quantities and packing for a membership pin order?
List the number of pins for each design version, then identify any separate chapter or distribution groups. If cards or packs differ, connect each version to its corresponding presentation and quantity. State whether you need individual presentation, grouped packing or both. Keep transit protection separate from the presentation that members receive, so the quotation covers the intended supply scope.
Supply
From production
to future orders.
Manufacturing, records and the brief to prepare.
08What should we keep for a future repeat order?
Keep the approved artwork reference, version names, colour and finish details, size, fitting and packing specification, together with the previous order reference. For a new request, identify what remains unchanged and what needs updating. The current production scope, sample needs and timing must be reviewed again; the page does not promise indefinite tooling storage, an unchanged price or automatic colour matching without review.
09Which manufacturing stages are completed in your own factory?
Our own factory in Hangzhou, China carries out tooling and metal forming, colouring, polishing, plating, assembly, inspection and packing. For a club or association project, the agreed artwork and version list define what needs review through those stages. The workshop pictures currently shown are AI-generated illustrations, not photographs of the factory. Actual workshop photographs will replace them.
10What do you need to discuss quantities, samples and timing?
Send the authorised artwork or design brief, intended use, size direction, quantities per version, surface and fitting preferences, packing scope, destination and required arrival timing. State any membership launch or distribution date separately. These details support a project-specific discussion of minimum quantities, sample arrangements and schedule. A requested date is not a confirmed delivery commitment, and no fixed minimum or sample price is stated on this concept page.
14
Compare another custom pin brief.
Explore organisation pin projects with a different purpose.
Illustrative custom concepts — not stock products.
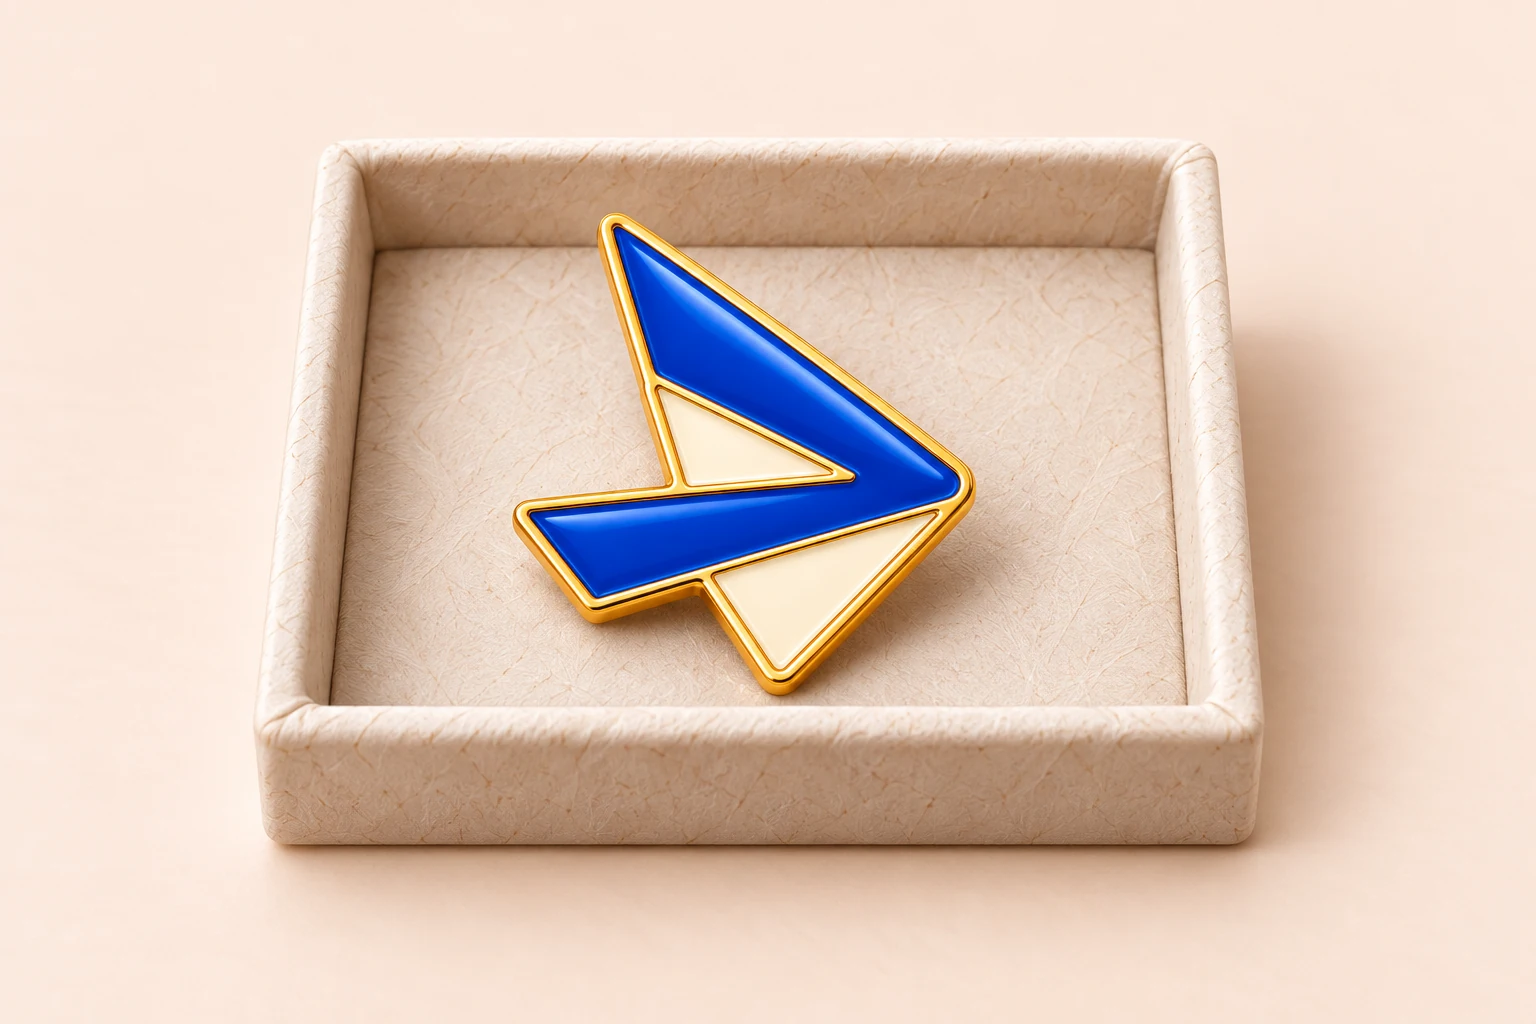
Company logo pin
A unified company mark without member versions.
View product details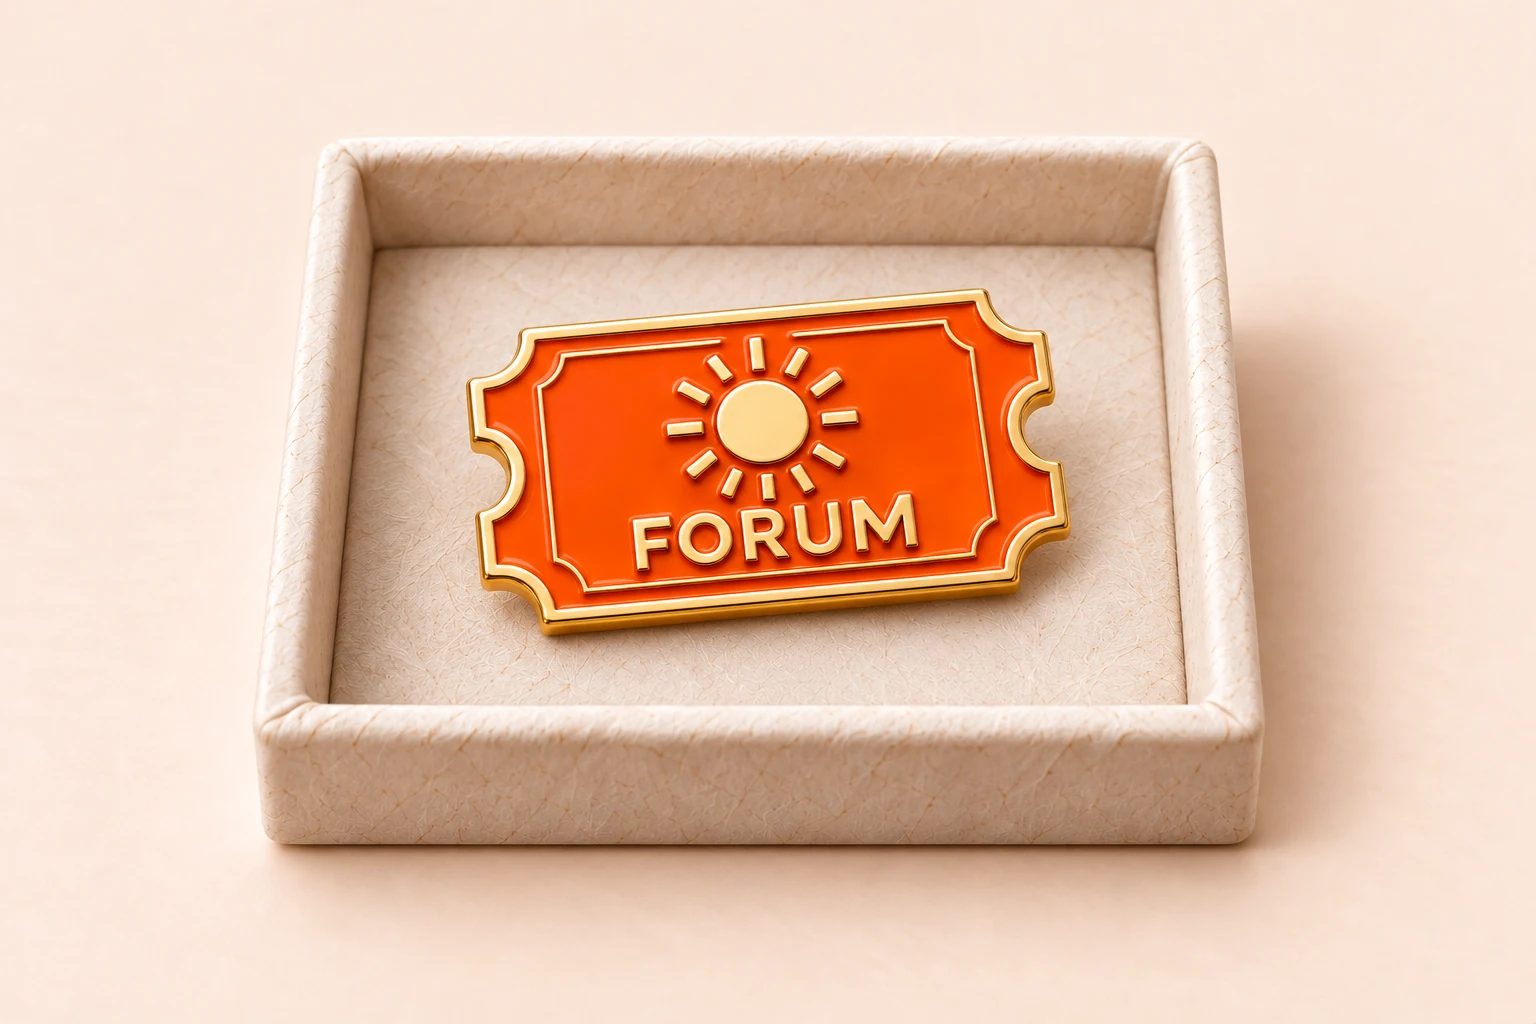
Business event pin
An event edition and its distribution plan.
View concept brief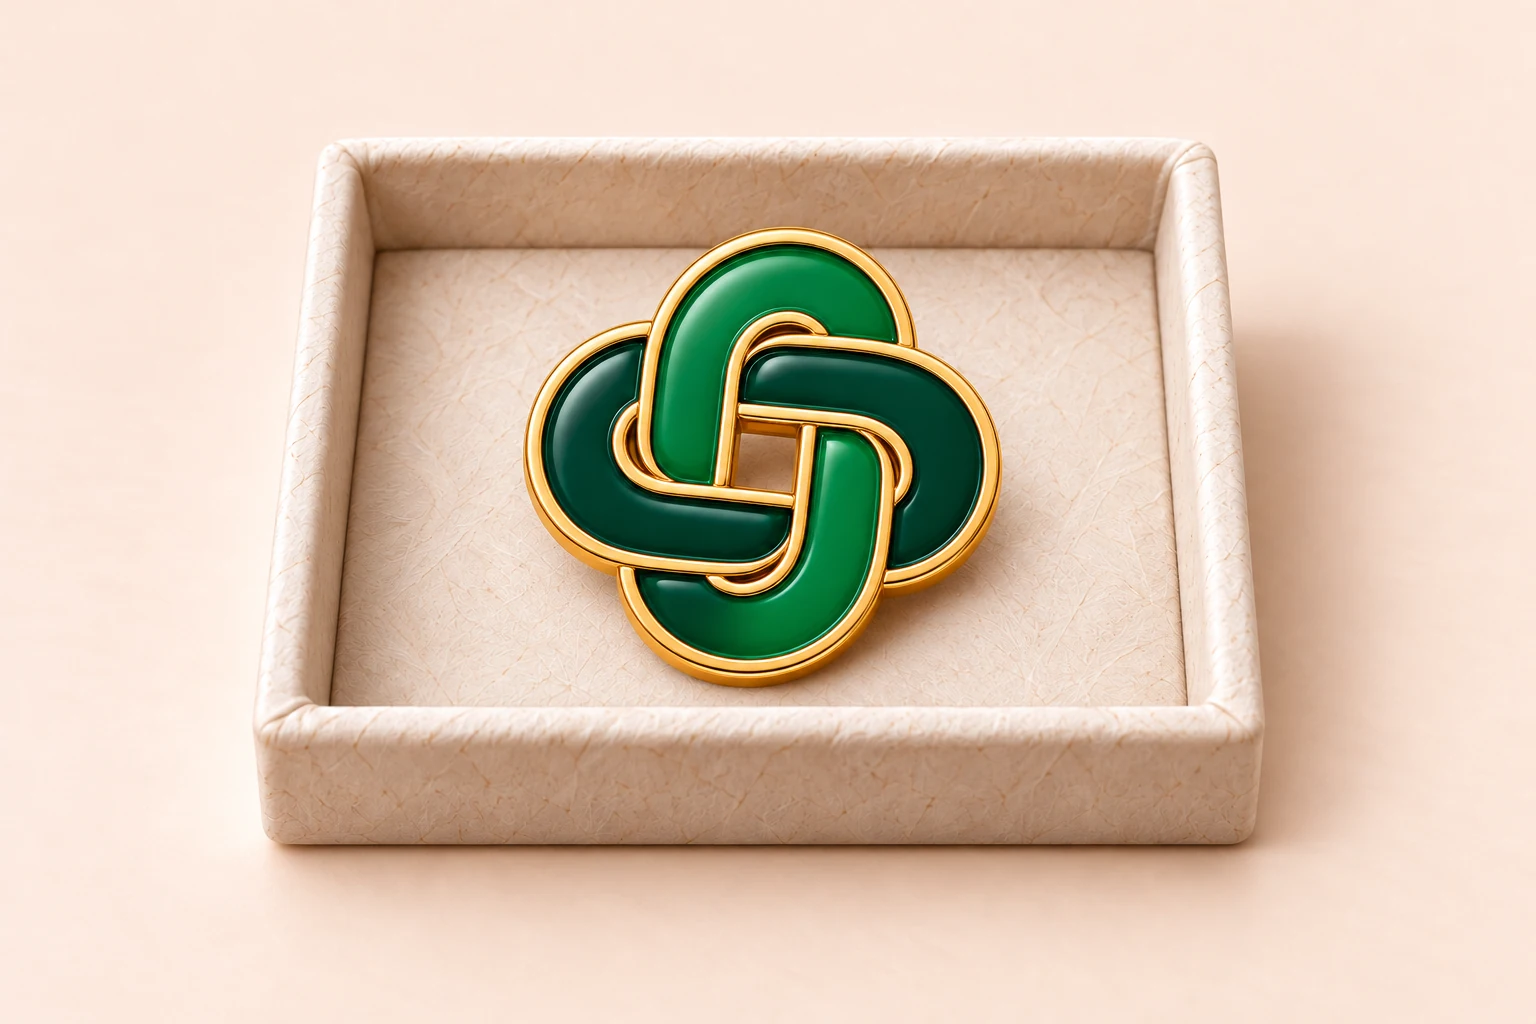
Organisation campaign pin
A campaign theme and its issue groups.
View concept brief15
Send your organisation’s brief.
Tell us about the crest, versions and supply scope.
Project brief
Custom enamel pins for your organisation. Required fields are marked *.