Enamel pin manufacturer
for custom business projects.
Explore custom company pins, recognition series and organisation designs.
OEM production · Original design development · Adapted designs

Custom concept index
Six briefs. Six different pin decisions.

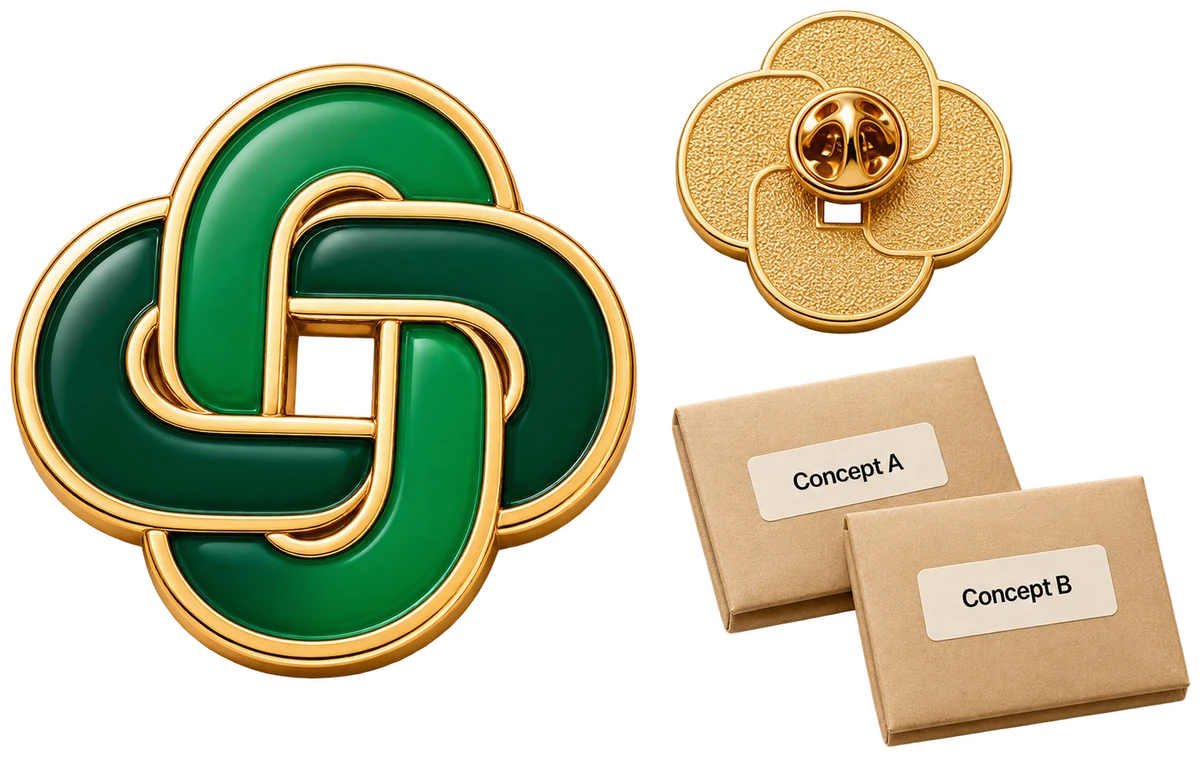
Illustrative custom concepts — not stock products or customer case studies. Reference IDs identify discussion examples, not stock-keeping units.
P01 / Company logo
Make the mark
work as a pin.
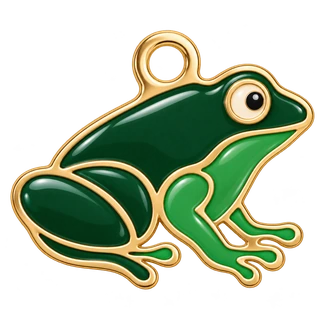
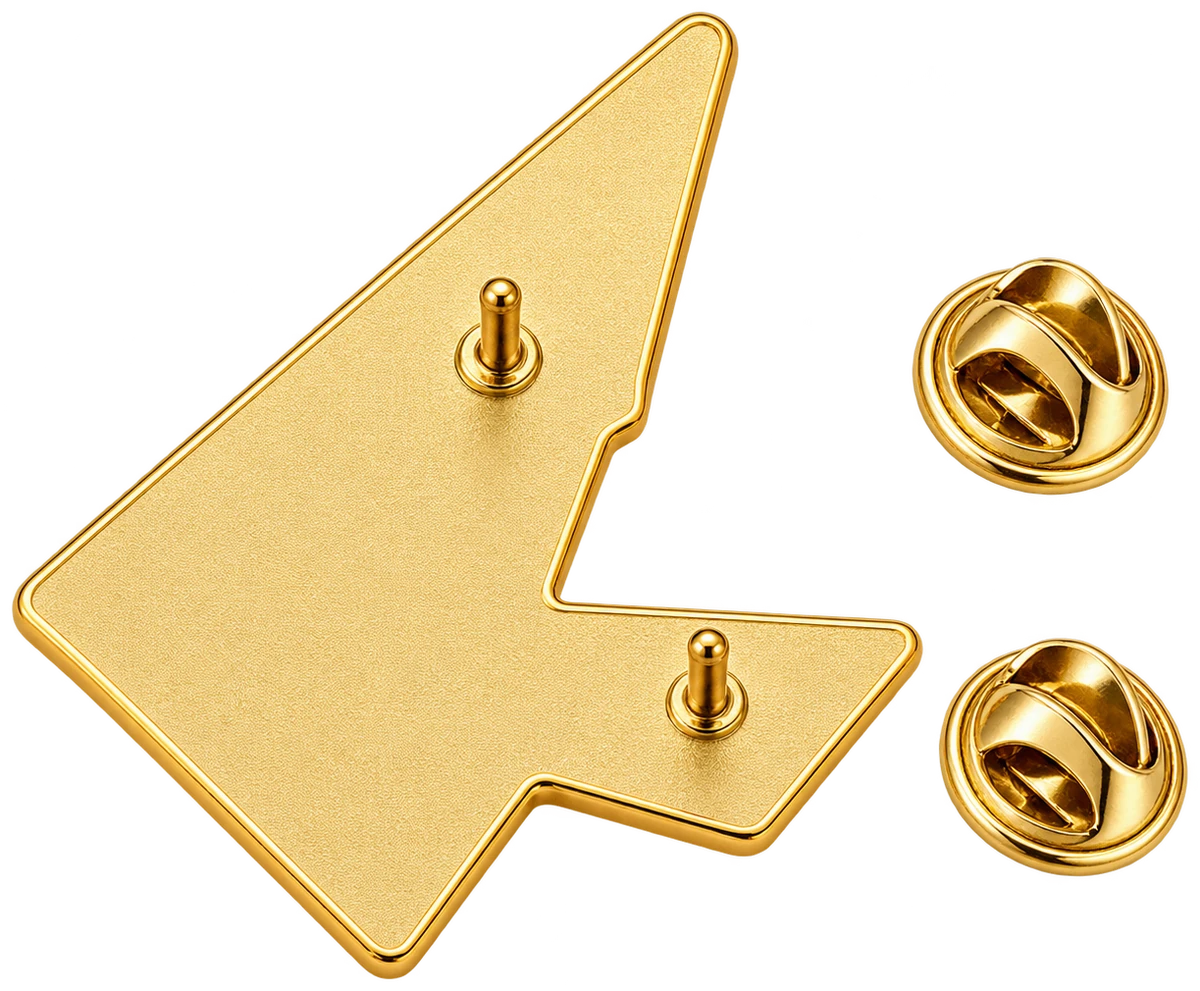
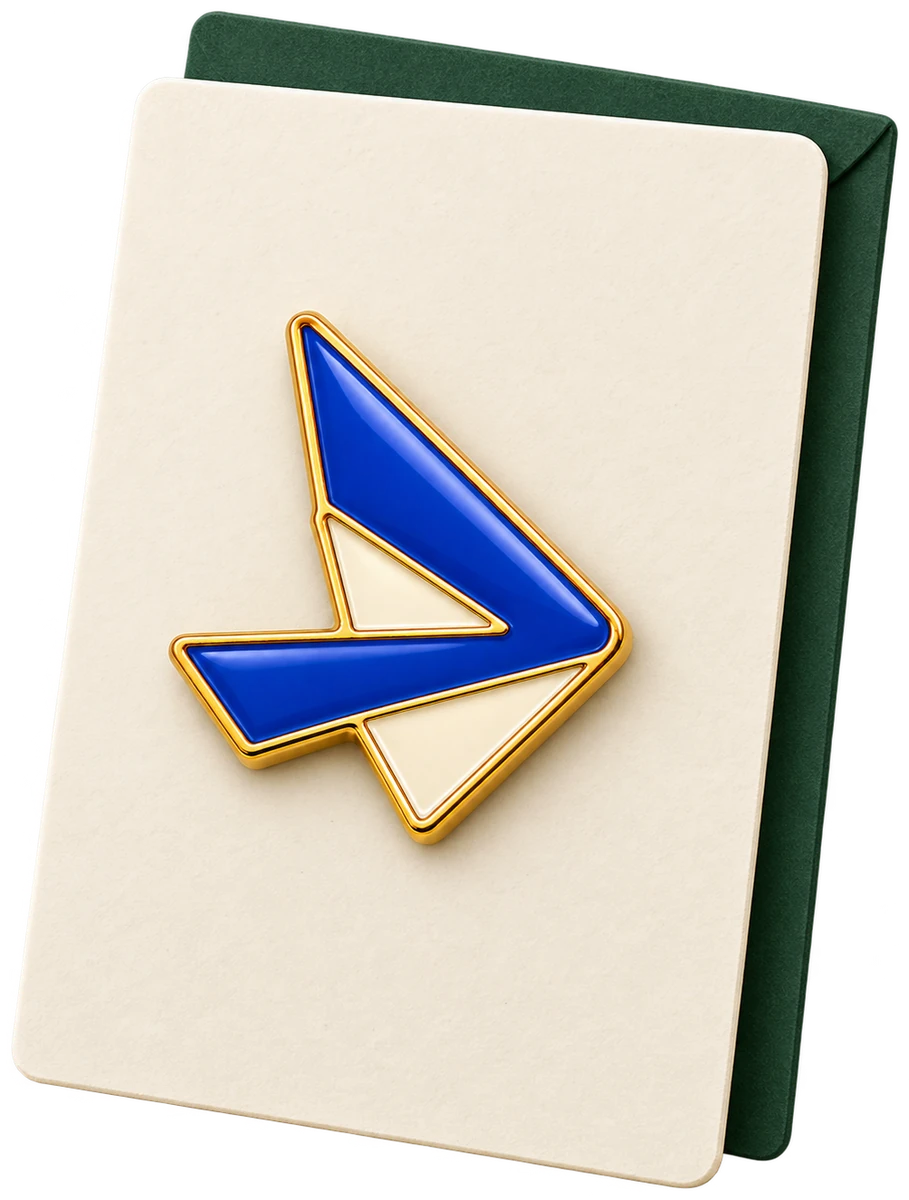
An original angular pin illustrates a wearable company identity. Review the mark at its intended size, with the reverse and presentation in view.

Bring to the brief
Logo artwork and colour reference; intended use and size direction; quantity for this design; fitting and presentation needs.
Review together
Identify the details that must remain readable. Review the outline, metal divisions and colour areas, then the wearing orientation and fitting. Reducing a logo can require changes to fine letters or small gaps.
A backing card or presentation pack belongs in the supplied scope only when specified. P01 identifies this discussion example; it does not prescribe a material, size or fixed configuration.
P02 / Recognition series
A recognition series,
clearly defined.
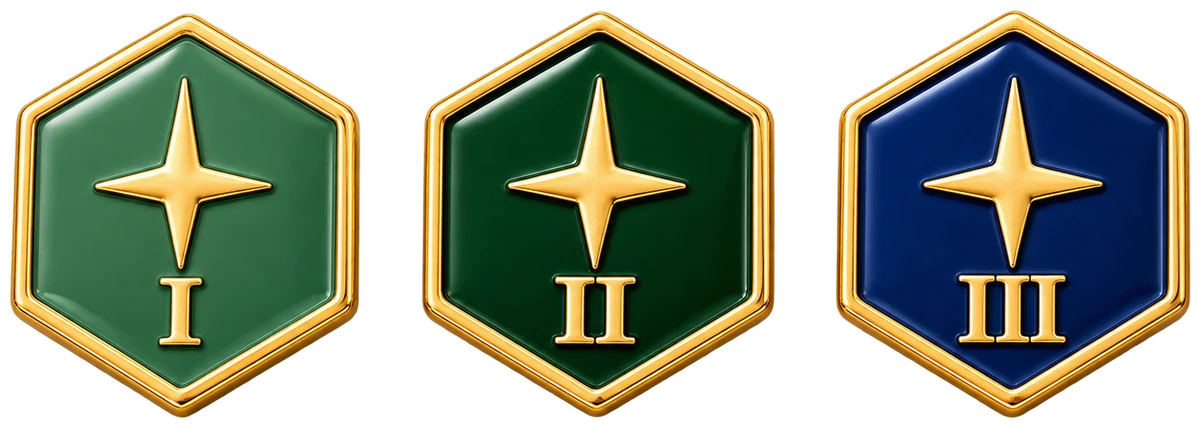
A common emblem can retain one identity while level wording and colour distinguish milestones or tiers.
| Version | Artwork difference | Quantity unit | Presentation |
|---|---|---|---|
| Level I | Text and colour | Pieces per version | To define |
| Level II | Text and colour | Pieces per version | To define |
| Level III | Text and colour | Pieces per version | To define |
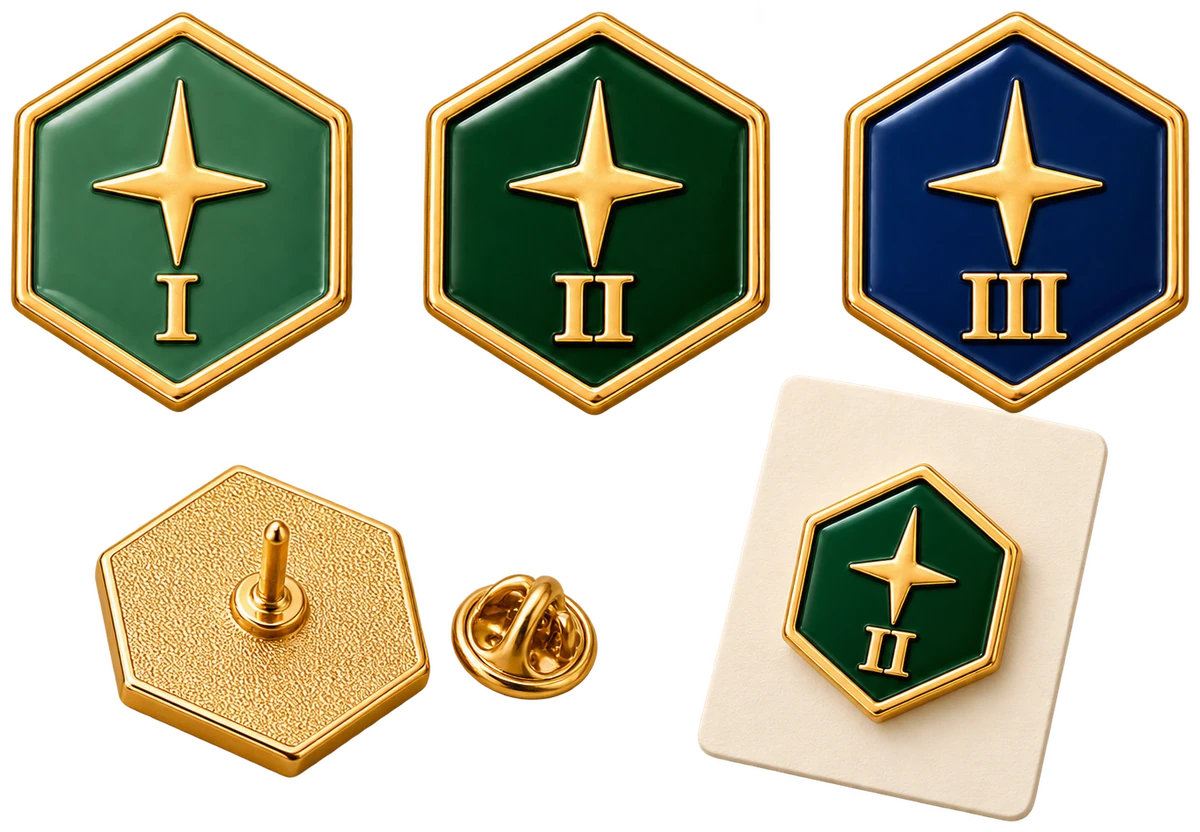
A shared visual identity does not automatically mean shared tooling. Text, relief, outline and colour changes require review. Provide the programme structure and separate fixed elements from variable elements.
Review samples against the correct level and record revisions before production arrangements are agreed. The displayed I, II and III are concept labels, not a prescribed recognition programme.
Use P02 in my brief Explore recognition pinsIllustrative custom concepts — not stock products or customer case studies.
P03 / Organisation crest
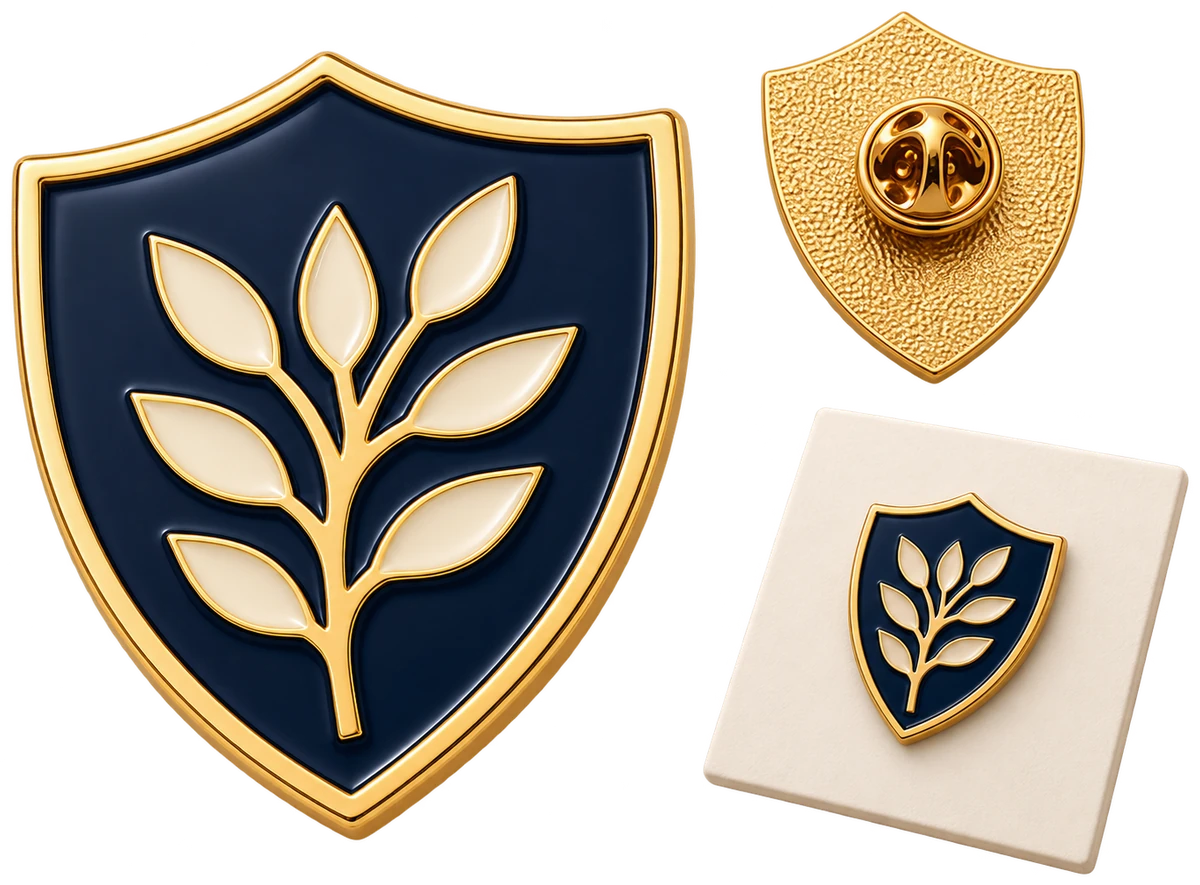
A crest with room
for the details.
Bring
Authorised emblem, organisation lettering, colour references and intended wearing size.
Review
Text clarity, border and symbol balance, wearing orientation and member versions.
Define
Quantity per version, fitting and presentation card scope.
Fine letters and narrow spaces need review at the proposed scale. Preserving every detail of an enlarged source image is not assumed. This is an original concept, not a real organisation’s badge.
Use P03 in my brief Explore custom club pinsIllustrative custom concepts — not stock products or customer case studies.
P04 / Business event pin
Keep the event
version clear.
Bring
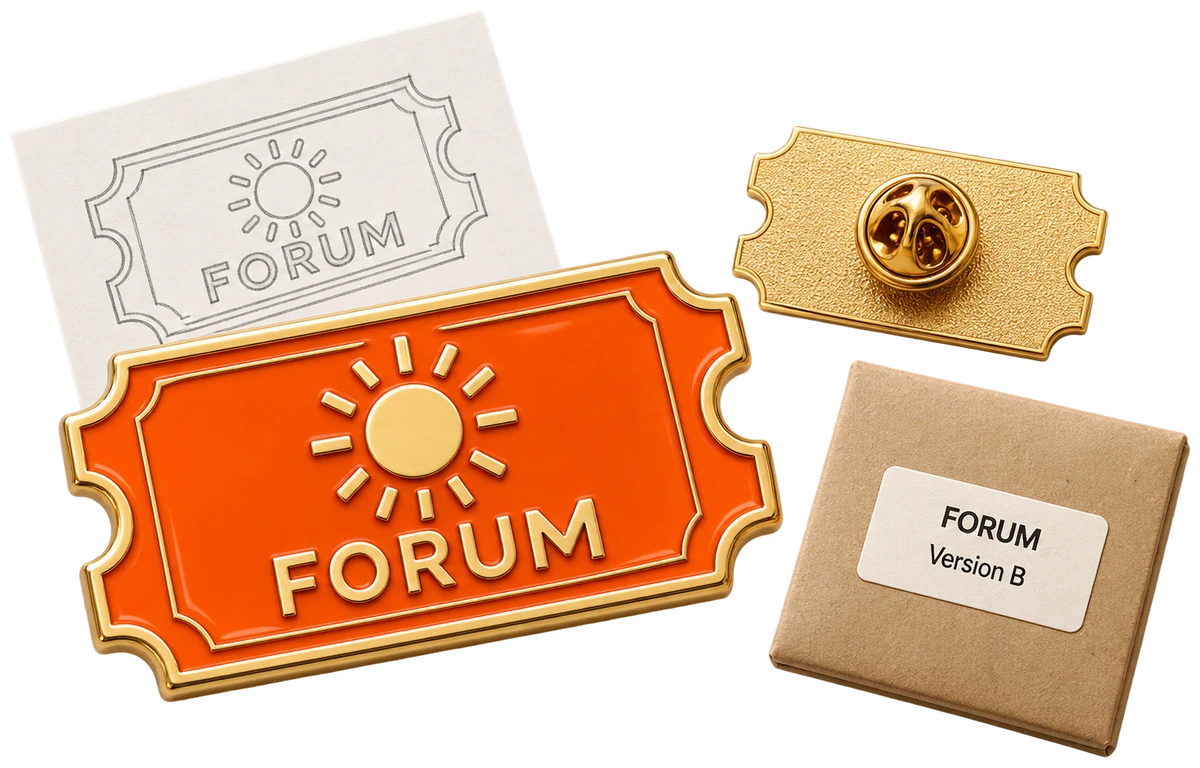
Event identity, approved artwork, edition or year text, quantities and target arrival date.
Review
Correct artwork version, reverse orientation and distribution groups.
Define
Timing after specifications, sample arrangements and destination are reviewed.
Separate the event date from the required arrival date. Keep artwork and packing versions linked to distribution groups. This concept does not imply rush production or a fixed lead time.
Use P04 in my brief Explore corporate event pinsIllustrative custom concepts — not stock products or customer case studies.
P05 / Branded three-pin set
Three designs.
One coordinated set.
Bring
Every design and the intended contents of each complete set.
Review
Individual pin positions, reverse fittings, card artwork and transit protection.
Define
Quantities per design, number of complete sets and any loose extra pieces.
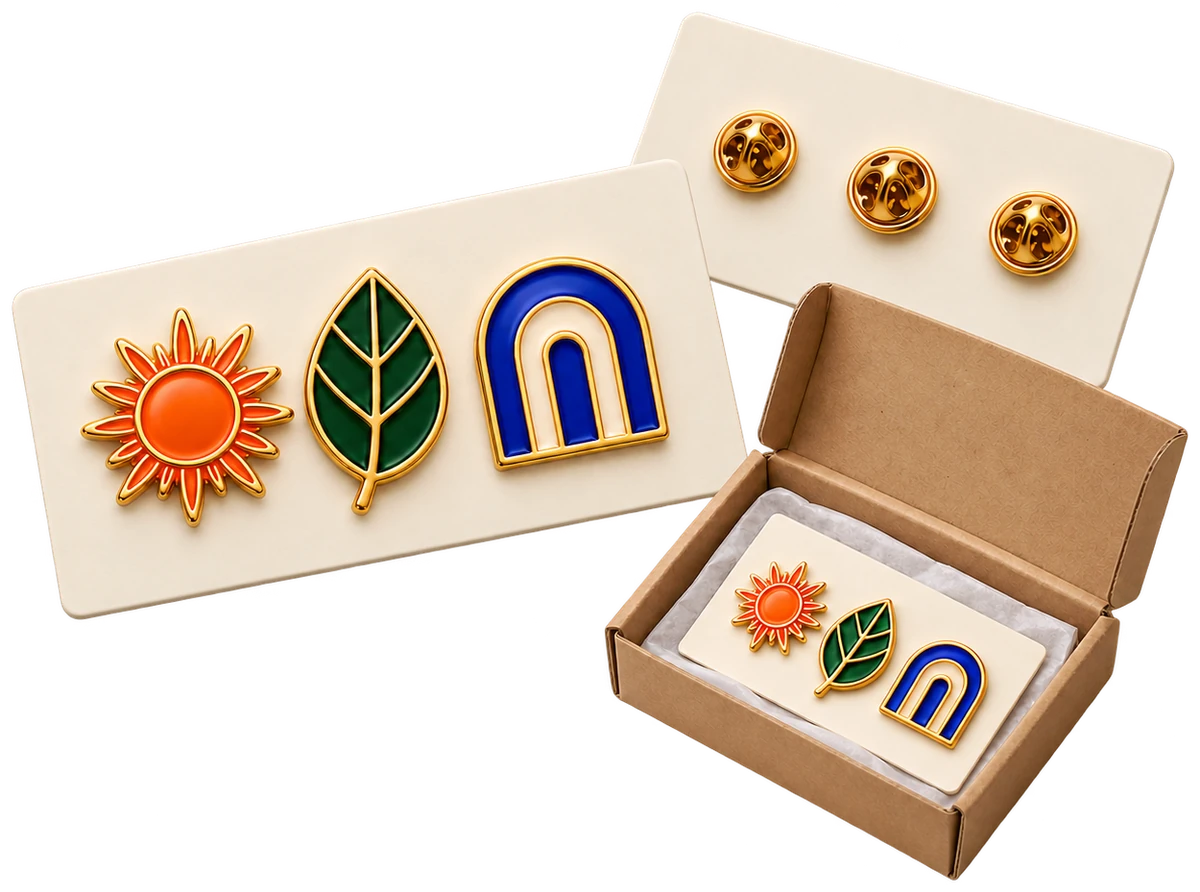
The sun, leaf and arch are original motifs. Check the assembled presentation as well as each individual pin; presentation contents and transit protection need separate definition.
Use P05 in my briefIllustrative custom concepts — not stock products or customer case studies.
P06 / Organisation campaign pin
One campaign,
organised by version.
Bring
Authorised artwork, colour references, intended recipients and distribution plan.
Review
Colour areas, metal edges, reverse orientation and version identification.
Define
Quantities, fitting, presentation and batch notes for each version.
Keep changes and quantities attached to the correct design reference. This is an organisational manufacturing concept, not a retail campaign item or a real customer case.
Use P06 in my briefIllustrative custom concepts — not stock products or customer case studies.
Surface choice
Choose the surface
around your artwork.
Review fine lettering, colour boundaries and the intended finish at the proposed size.
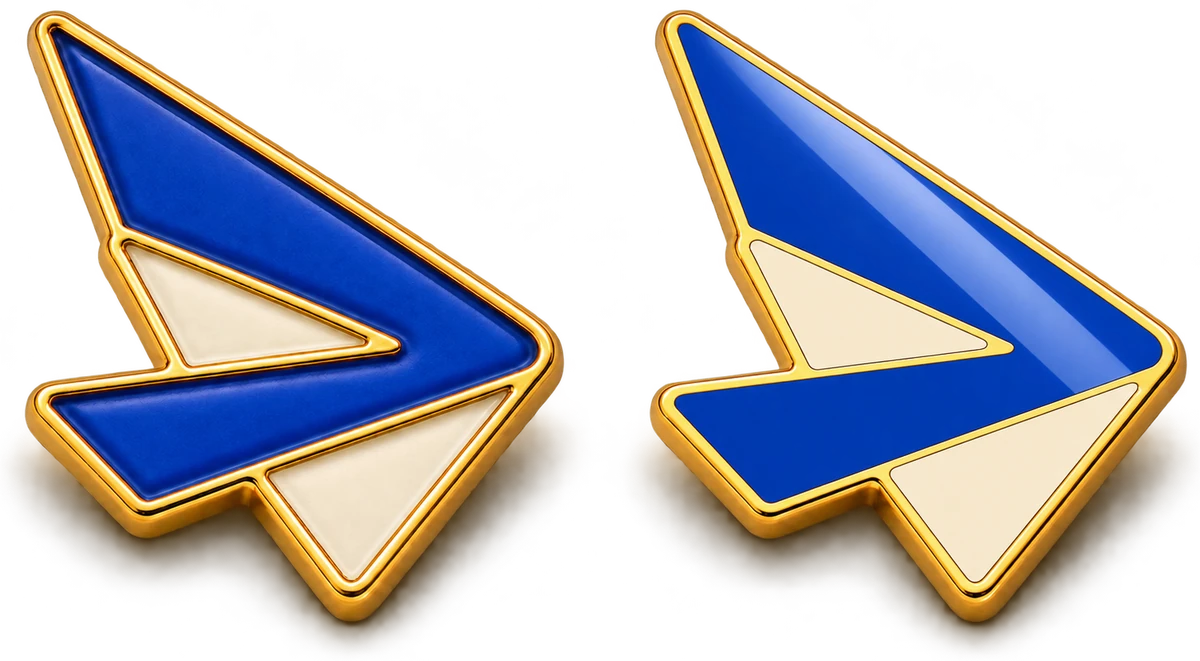
Soft enamel
Raised metal divisions with recessed colour. Review the relationship between the metal lines and the colour areas.
Hard enamel
A smooth, flush polished surface. Review artwork clarity and the intended finish with the complete design.
The order of colouring, polishing and plating is confirmed for the selected process and finish. Fine lettering or gradients may require an agreed artwork adjustment rather than direct reproduction.
Illustrative surface studies, not engineering cross-sections.
Front and reverse
The reverse is part of the design.
Confirm wearing direction
Review the intended orientation and attachment use.
Review post positions
Consider the outline and attachment material together.
Choose the fitting
Define the fitting and assembly in the supplied scope.
Front and reverse belong to the same design reference.
Example construction only; fitting and dimensions are defined for the project.
Supplied form
From single pins
to complete sets.
Presentation
Pin arrangement, card artwork and supplied contents.
Transit protection
Review how the supplied pieces and sets are separated and protected.
List pieces per design and complete sets separately. Include loose extras if required. Packaging shown is a concept to define in your brief.
Illustrative custom concepts — not stock products or customer case studies.
Our factory
Follow the pin
through our factory.
The product decisions above connect to the manufacturing stages completed in our own factory in Hangzhou, China.
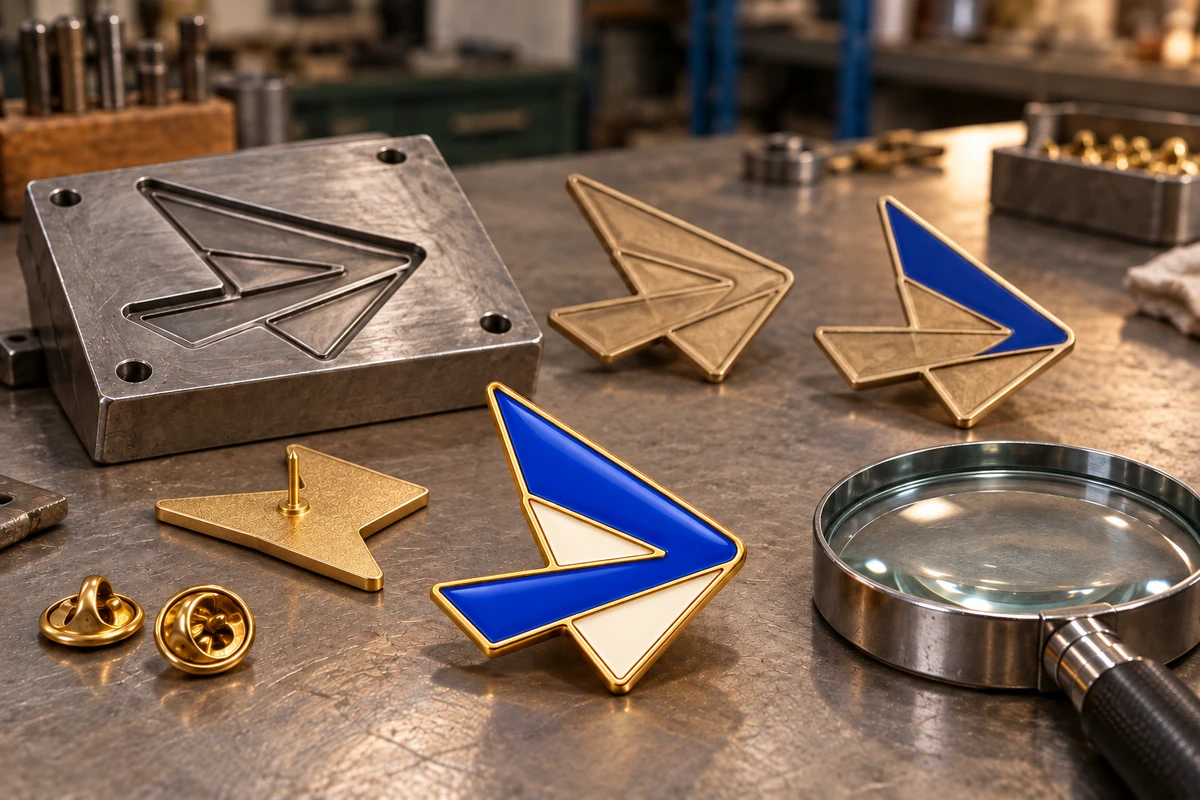
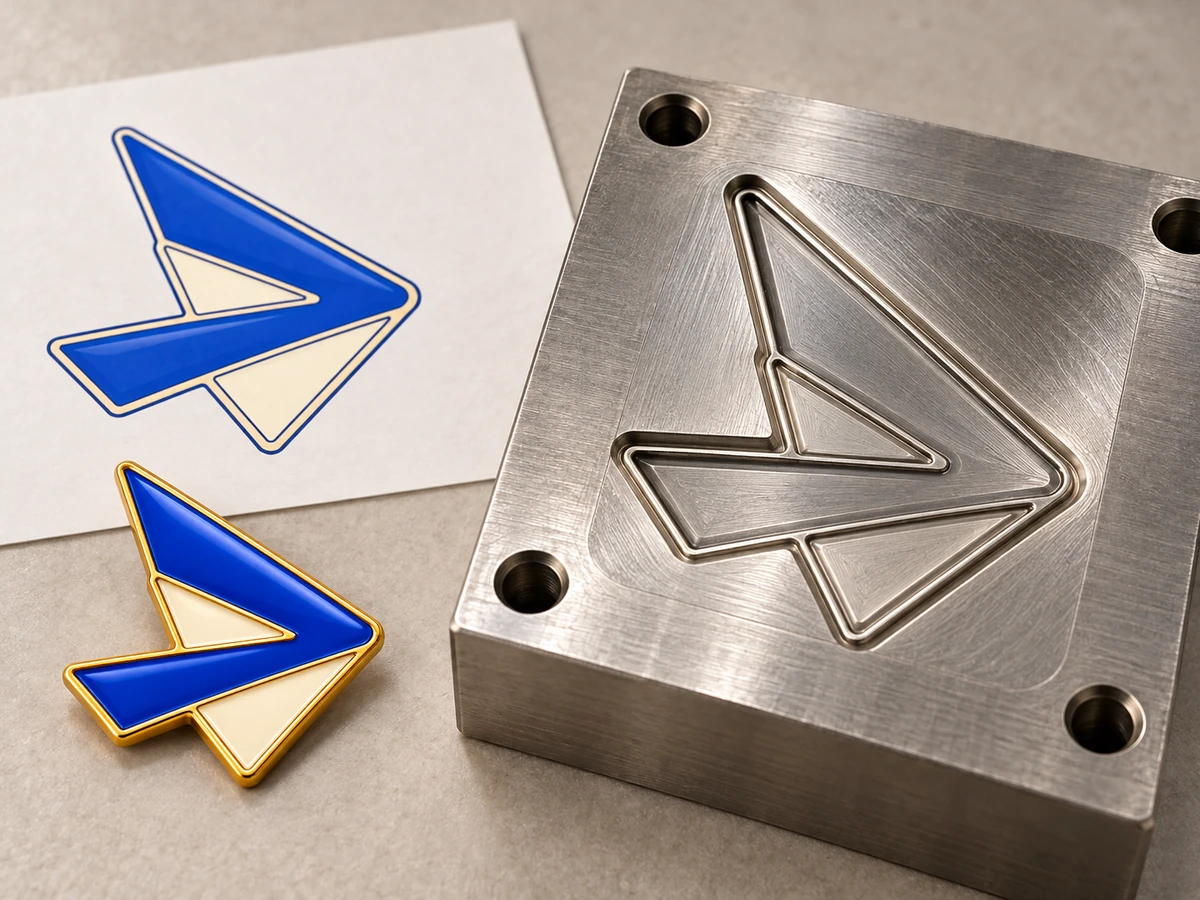
Forming the body
Tooling and metal forming establish the agreed outline and detail.
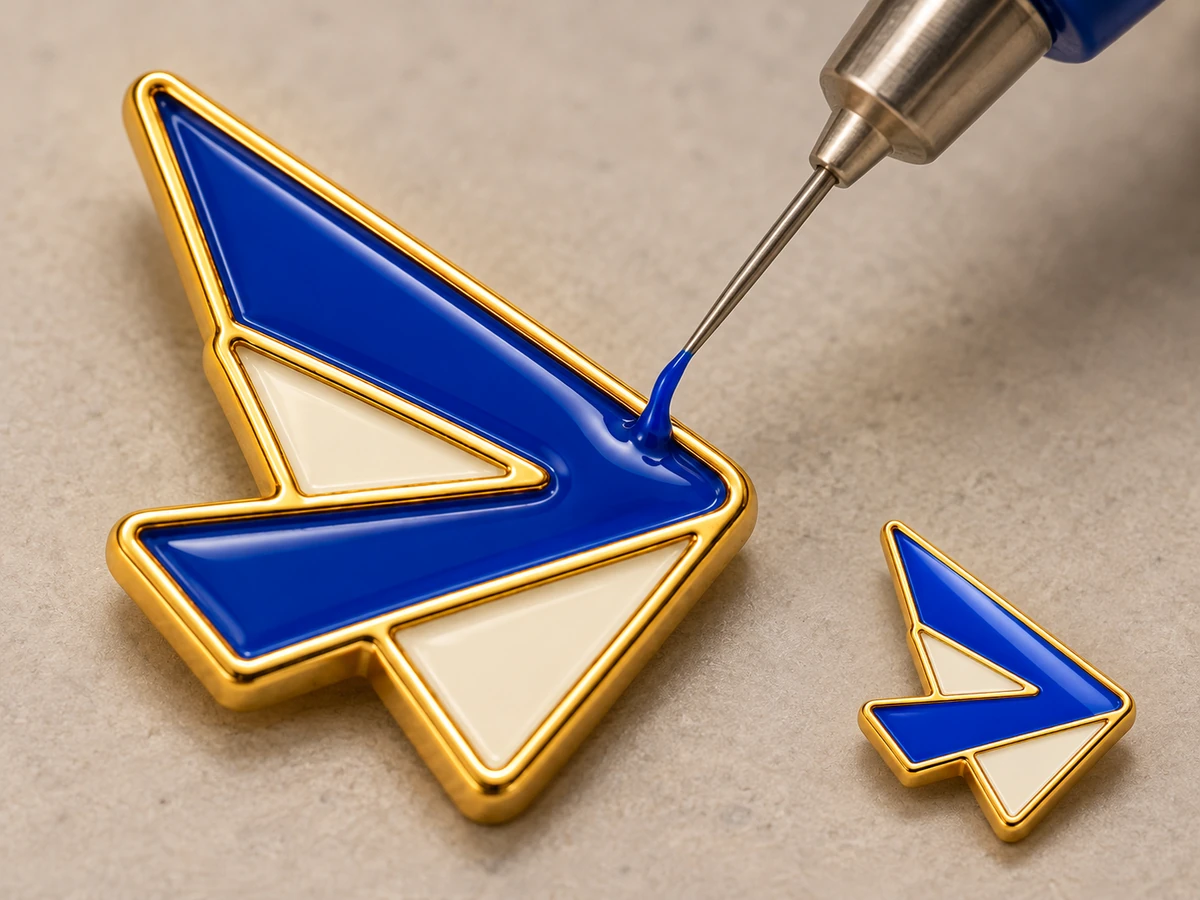
Building the surface
Colouring, polishing and plating follow the selected process.

Fitting the reverse
Assembly follows the agreed reverse and fitting requirements.
Checking the supplied set
Inspection and packing refer to the correct design and supplied scope.
AI-generated illustration — actual factory photographs to follow.
From artwork to supplied pin
The same pin,
through changing states.
The exact sequence is defined for the selected enamel and finish. These studies show the decisions and product states to review, not a universal production recipe.
Artwork & tooling
Confirm the artwork reference and construction.

Metal body
Review the agreed outline and metal divisions.
Soft enamel
Recessed colour.
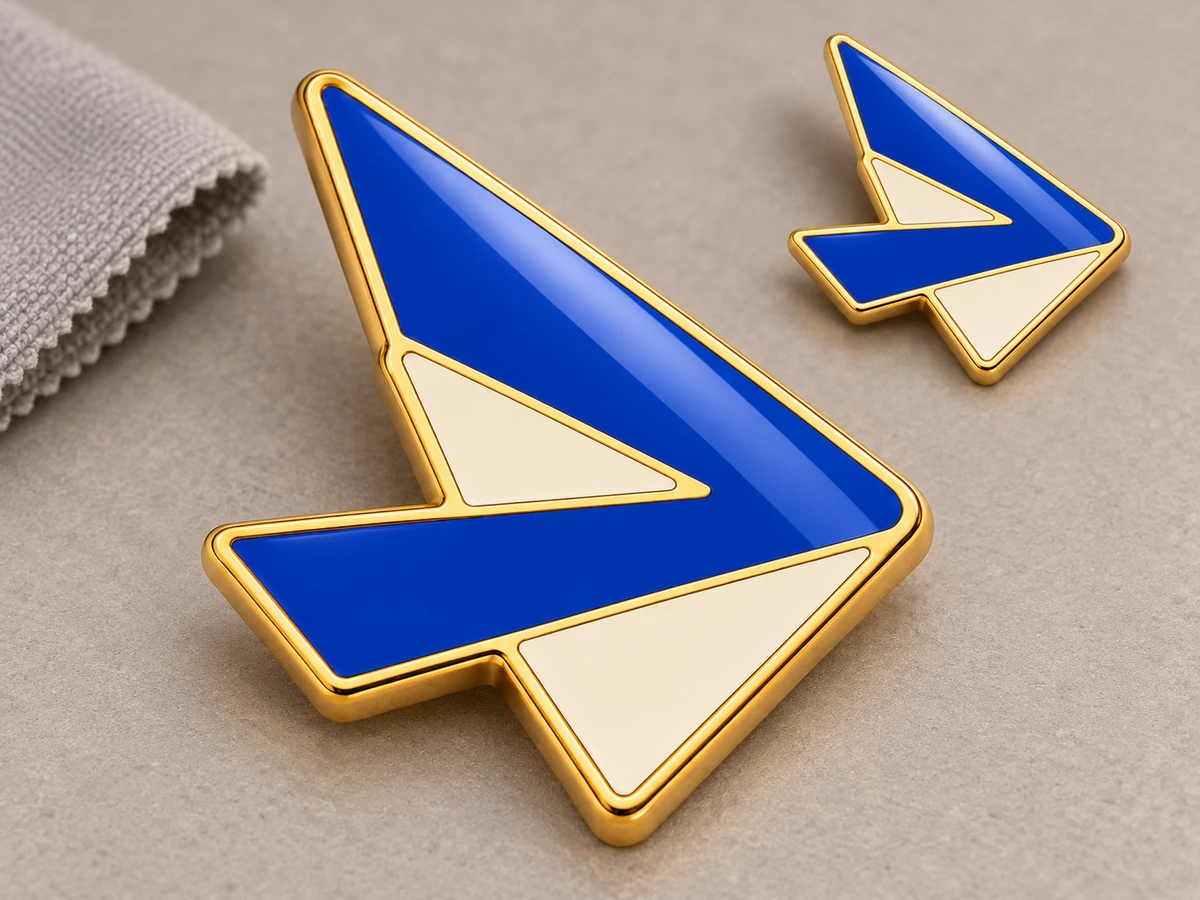
Hard enamel
Flush polished surface.
Fitting & review
Check the reverse, fitting and agreed reference.
Packing
Review the complete supplied presentation.
Check the agreed artwork, surface, reverse and presentation.
Illustrative process sequence; route details are defined for each project.
OEM & ODM cooperation
From your brief
to an agreed pin.
Start with your artwork, an original idea or a design to adapt. Each route joins a common set of project decisions.
Your input
What we define
- 01
Artwork, intended use and size direction
Share the current artwork and explain how the pin will be used.
Outline, colour areas and construction
Review artwork details and the complete supplied structure.
- 02
Quantity for each design or level
List each version and its quantity unit.
Versions, supplied scope and quotation items
Keep the products, fittings, packing and sample arrangements clear.
- 03
Comments on the sample
Compare the sample with its agreed artwork.
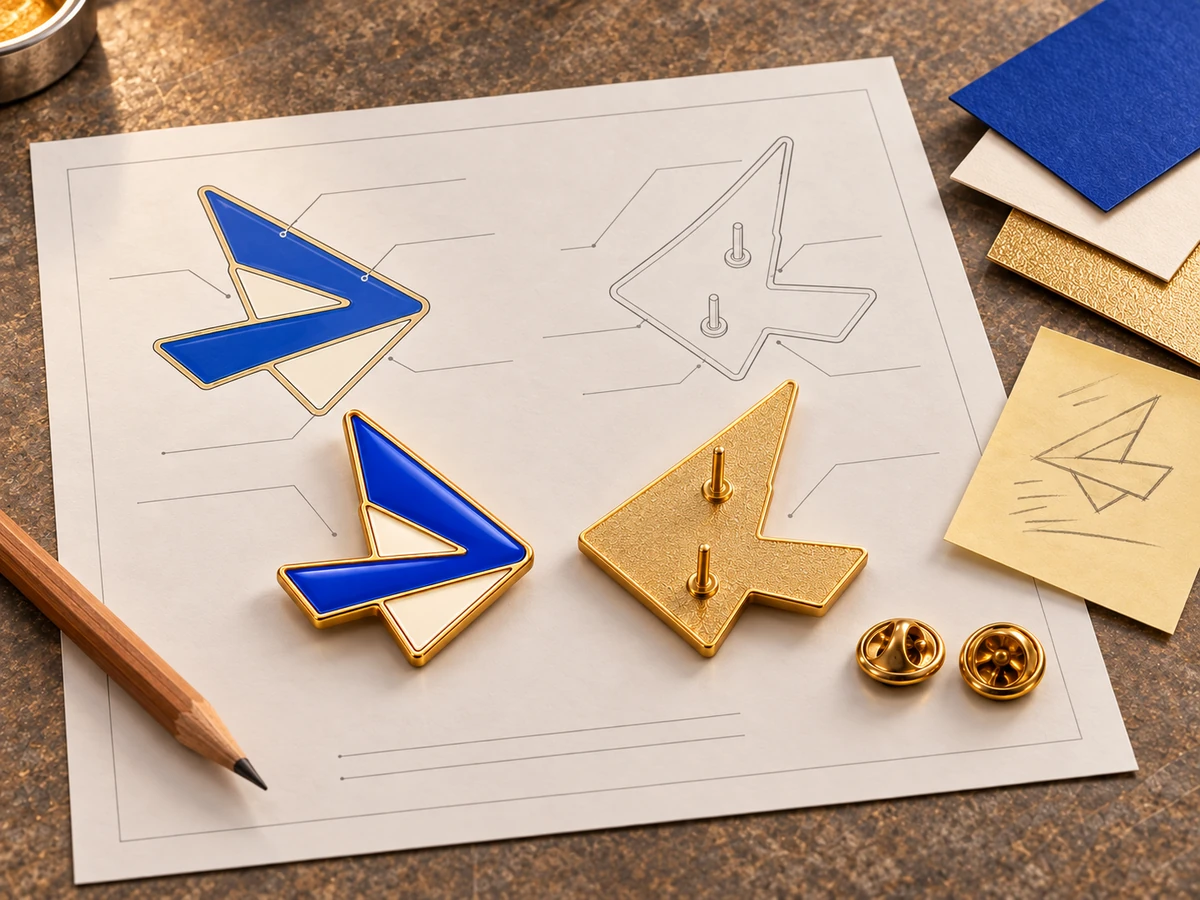
A recorded revision or agreed reference
Record changes against the correct design version.
- 04
Target timing and destination
Share target arrival and distribution requirements.
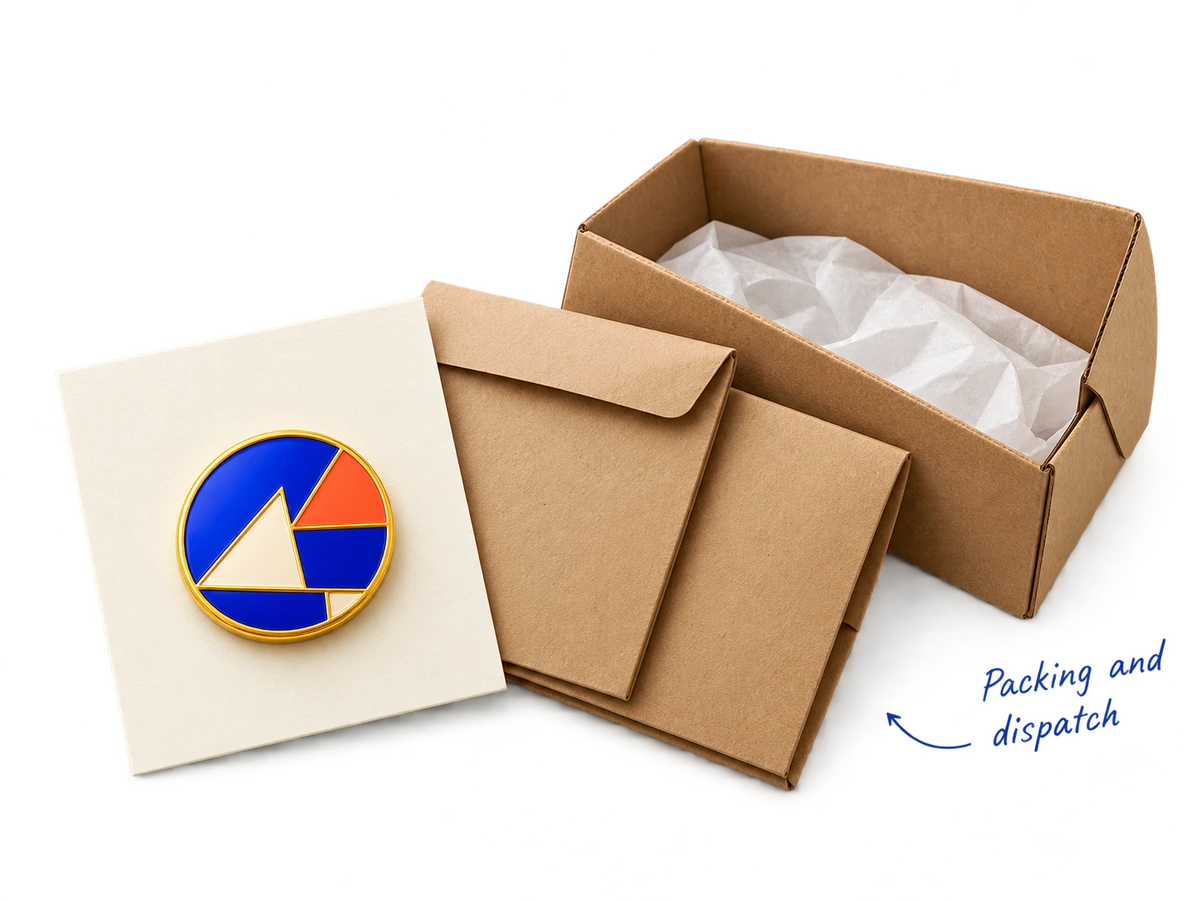
Production, packing and dispatch arrangements
Agree the scope and sample arrangements before scheduling.
Specifications and sample arrangements are agreed before production scheduling.
Physical sample review
Read the sample,
detail by detail.
- Artwork clarity
- Outline, lettering and shape against the agreed reference.
- Colour areas & finish
- Surface, divisions and exposed metal appearance.
- Reverse & fitting
- Orientation, post positions and assembly scope.
- Card & set contents
- Position, supplied pieces and complete presentation.
Record what changed against the correct design version. For recognition and campaign versions, check the exact wording and version identity.
Illustrative review study.
FAQ
Before you commission
your pins.
Answers to common questions when planning custom enamel pins.
01Can you customise these example pins with our own logo or artwork?
Yes. The examples are concept starting points, not stock pins. Send your artwork, intended use and size direction, and identify the details that must remain visible. We review the shape, colour areas, metal divisions and reverse requirements around your brief. The pictured configuration is not a promise that any artwork can be transferred unchanged.
02How do we choose between a company logo pin and a recognition pin?
A company logo pin usually centres on consistent identity and wearing orientation. A recognition series adds changing levels, wording or colours within a shared visual system. For recognition, list the fixed elements, changes, quantities and presentation for every version. These distinctions affect artwork review and project organisation, even when the pins look closely related.
03Should our design use soft or hard enamel?
Compare the intended surface with the artwork. Soft enamel has recessed colour with raised metal divisions; hard enamel has a smooth, flush polished surface. Review fine lettering, small colour areas and the proposed metal finish at the intended size. The comparison on this page illustrates the surface decision; the complete production route is agreed for the specific design.
04What happens if our logo includes fine lettering or gradients?
Review the artwork at the proposed finished size, rather than judging only an enlarged screen image. Small letters, narrow spaces and gradual colour transitions may need simplification or a different artwork treatment. We identify the details to preserve and discuss changes before the design is confirmed. A gradient is not assumed to be reproducible by ordinary separated enamel colour fields.
05Can different recognition levels share the same pin design?
They can share an outline and visual identity, while the level wording, colours or other elements vary. Shared appearance does not automatically mean shared tooling or equal quotation items. List each change explicitly so tooling, artwork, colour versions and presentation can be reviewed. Keep quantities and sample comments tied to the correct level.
06What should we specify for the pin posts and back fittings?
Provide the outline, intended wearing direction, attachment use and the material it will be attached to where relevant. Post placement, the chosen fitting and assembly scope should be reviewed together. The reverse view helps check orientation and the relationship to the front. A fitting shown in a concept is an illustration, not a universal configuration for every pin.
07How should we brief a multi-pin set and backing card?
List the designs included in each set, pieces required per design and the number of complete sets. Supply the card artwork or presentation brief and clarify whether loose pieces are also required. Review the pin positions with the card layout, then separate presentation requirements from transit protection. The complete packed set needs review as well as each pin.
08How are quantities and quotation items separated by design?
Use separate lines for designs and versions, including different recognition levels or colour arrangements where applicable. Identify the quantity unit, fittings, assembly, presentation and packing scope for each line. Tooling and sample arrangements also need to be defined in the quotation discussion. A combined project total is not enough to describe all these requirements.
09What should our team check on a physical pin sample?
Check artwork clarity, colour areas, metal edges and the intended surface against the agreed reference. Review the reverse orientation, post positions and fitting, then the backing card or complete set if supplied. For recognition or campaign versions, check the correct wording and version identity. Record comments against a specific design and revision so changes can be traced.
10What information is needed for an event or recognition deadline?
Share the event or programme date and the required arrival date, destination, quantities per version and current artwork status. Include sample review and packing requirements. These inputs allow the specification, sample arrangements and production scope to be considered together before a schedule is agreed. The page does not promise a fixed turnaround or rush availability.
Start a pin project
Put your pin brief together.
Tell us about your project and we will discuss the next steps.
P01 · Company logo pinIllustrative custom concept — not stock.Choose another reference
Or email [email protected]